Beginner
Hello there! I hope you’re ready to learn the basics, including how to configure your PC, essential security tips, and much more.
Booting Windows
We all need to refresh our minds, schedules, and lives from time to time—and the same goes for our PCs. After a while of use, they often become slower and cluttered with unimportant data, taking up valuable space on your hard drive.
So, how do we refresh a PC to ensure there’s no unnecessary data, no background software slowing it down, and to remove any unwanted drivers?
Fortunately, we have several options. Today, we’re going to explore my favorite method: reinstalling the Windows image.
I recommend you go through and read the tutorial before trying it on your device.
Before reinstalling/ installing the Windows image, make sure to back up or move any important data, such as images, videos, important documents, passwords, bookmarks, calendar entries, signatures, certificates, and anything else valuable to you. This step is crucial because reinstalling the Windows image will permanently erase everything on your computer.
To reinstall/ install Windows, you’ll need a bootable Windows 11 USB stick. I’ll show you how to create one in another tutorial.
Once you have the USB stick, plug it into an unused USB slot on your PC. Make sure the PC is completely shut down before proceeding. After shutting it down, turn it back on and press the boot key on your keyboard. In my case, it’s the F12 key, but this can vary depending on your device. If you’re not sure, search online for the correct key for your system.
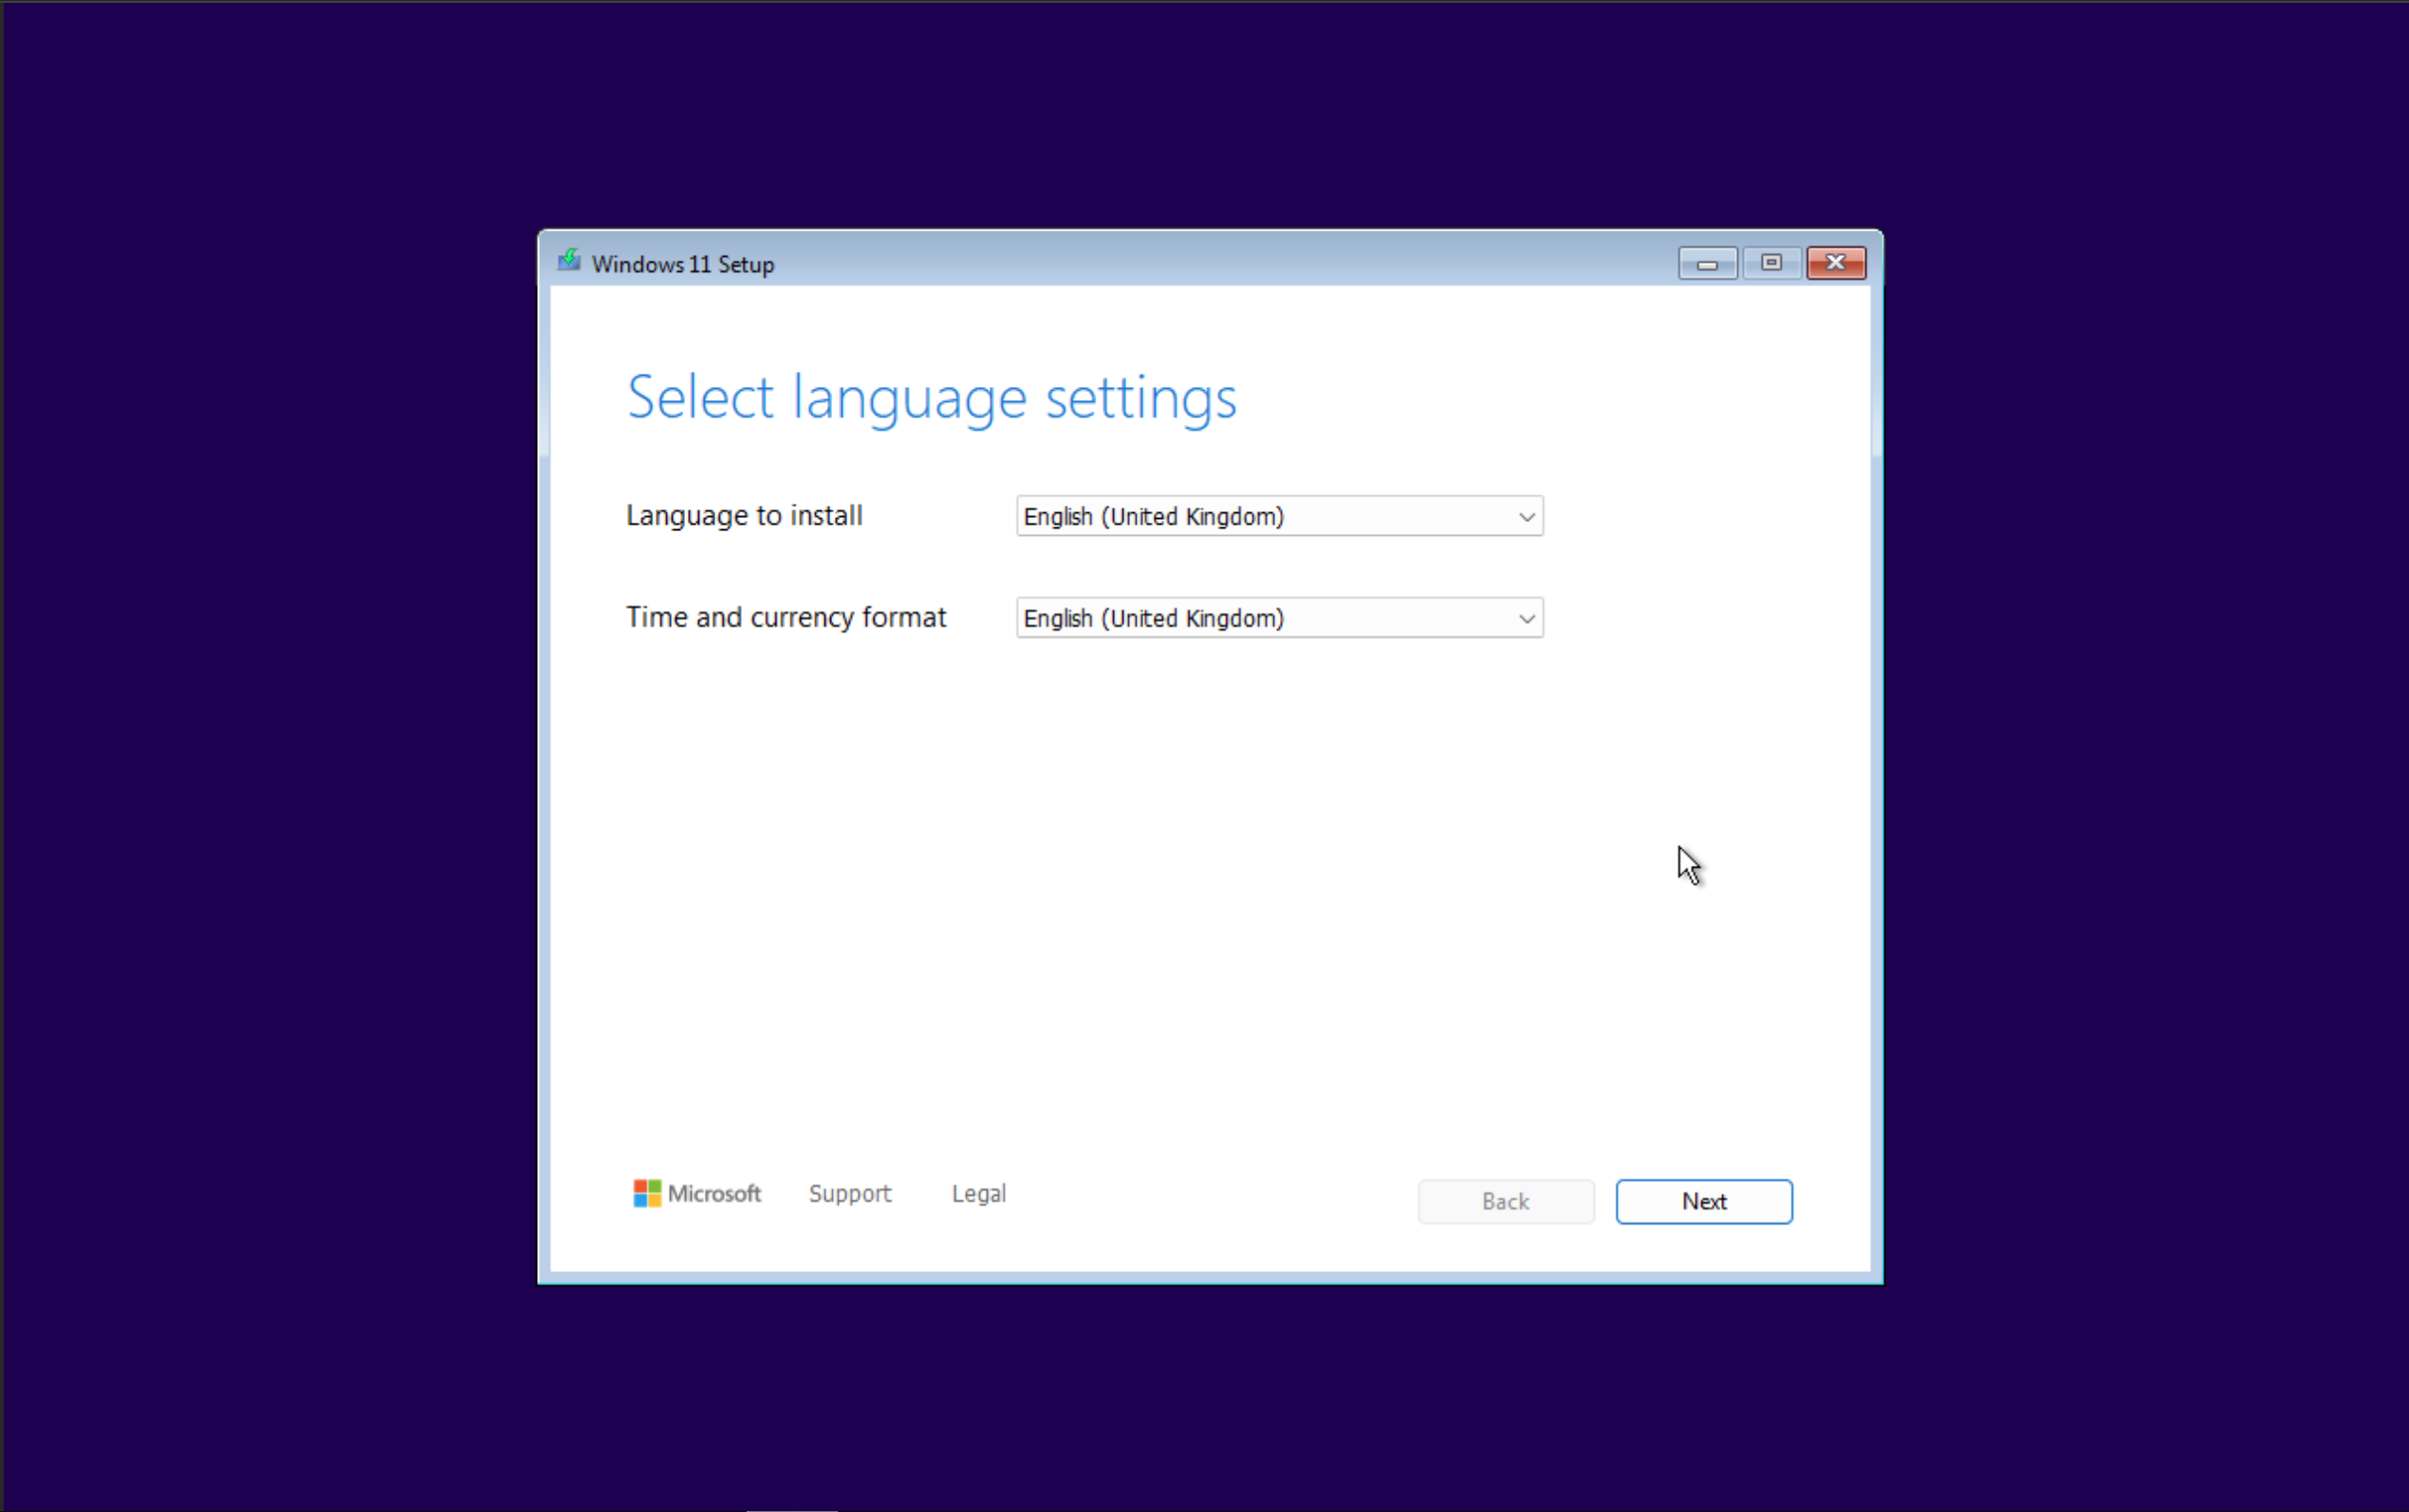
After pressing the boot key, you should hear a beep and see a small loading screen at the bottom of your display. From the menu that appears, select the USB stick as the device to boot from. If everything is set up correctly, you’ll see a window asking you to select your language and time preferences. Choose the appropriate options for your region and click “Next” to continue.
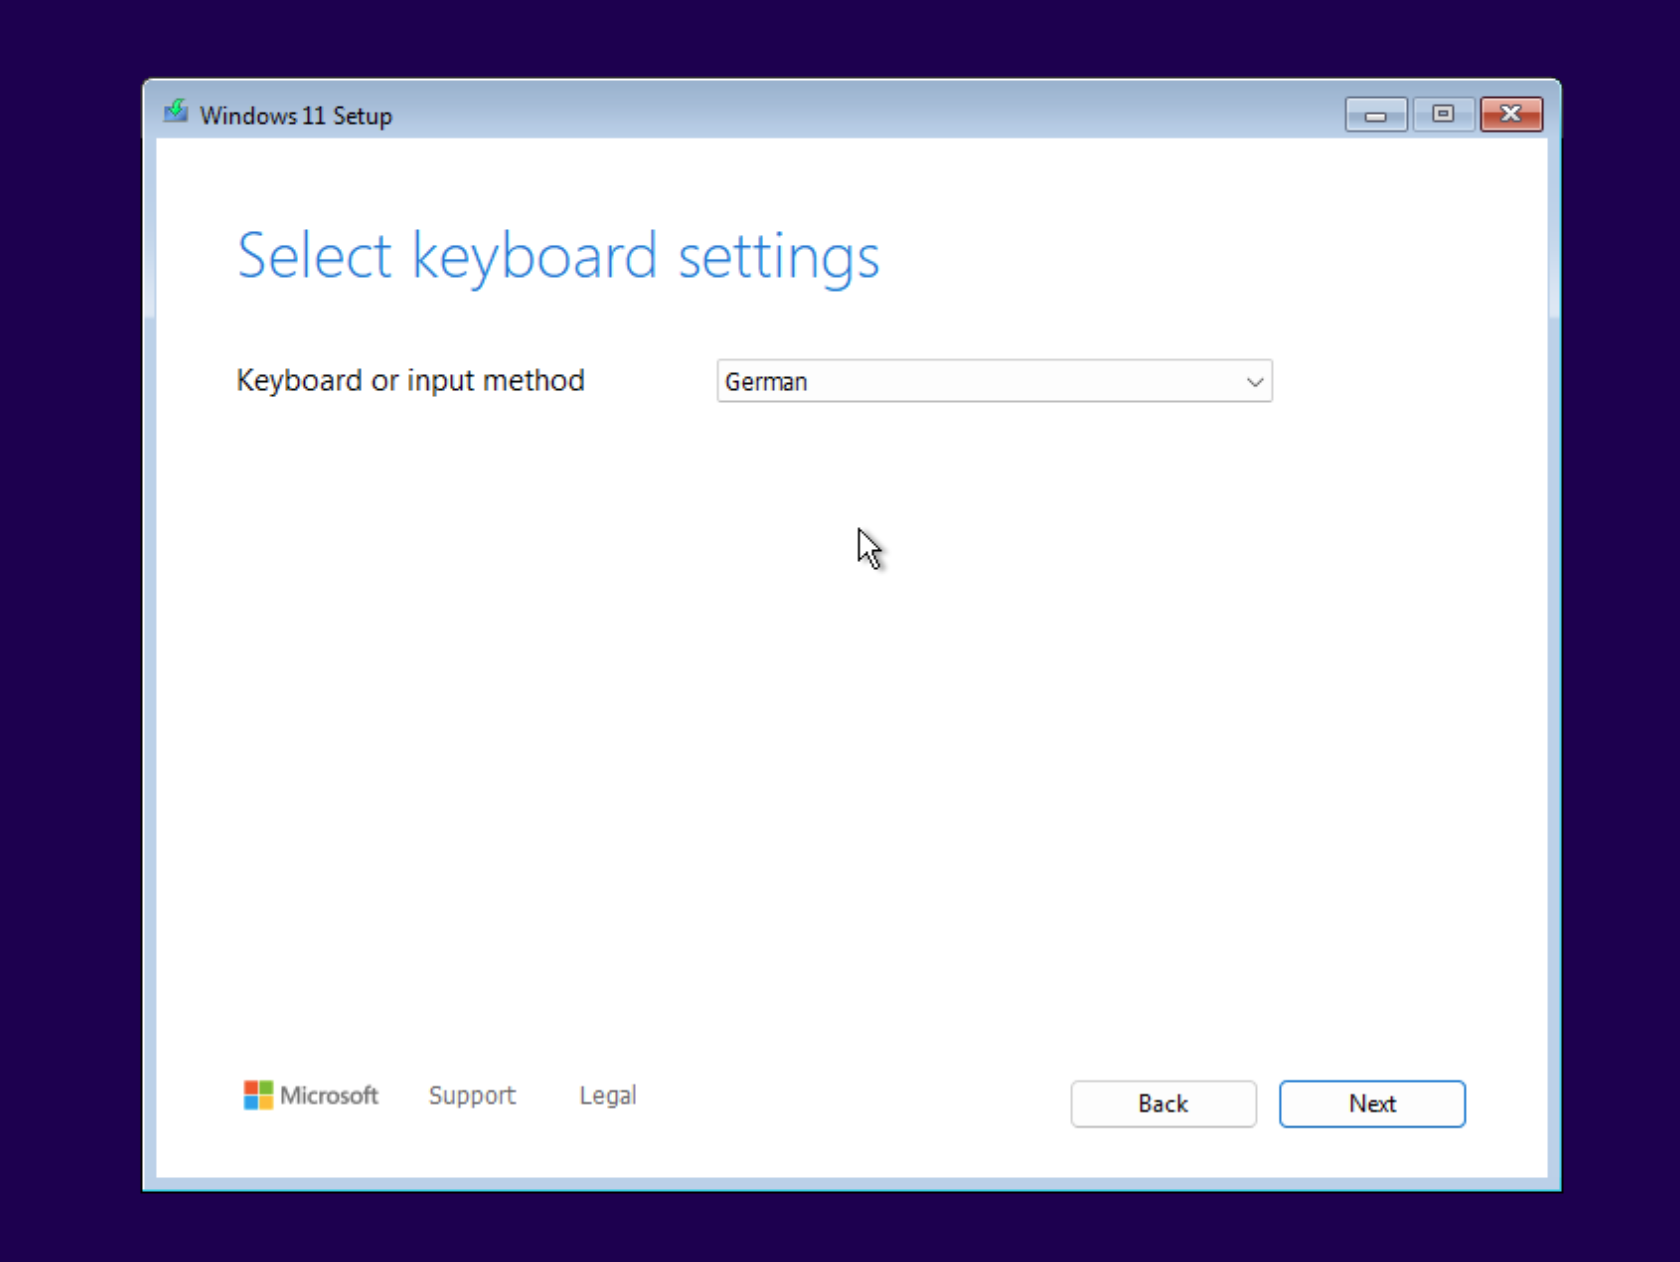
Select your keyboard language. Not all languages have the same keyboard formats. If you choose the wrong format, you might end up in situations where, for example, pressing the “Z” key results in the letter “Y” appearing on your screen. This is just one of the smaller issues that can arise.
After selecting the correct format, press “Next” to continue.
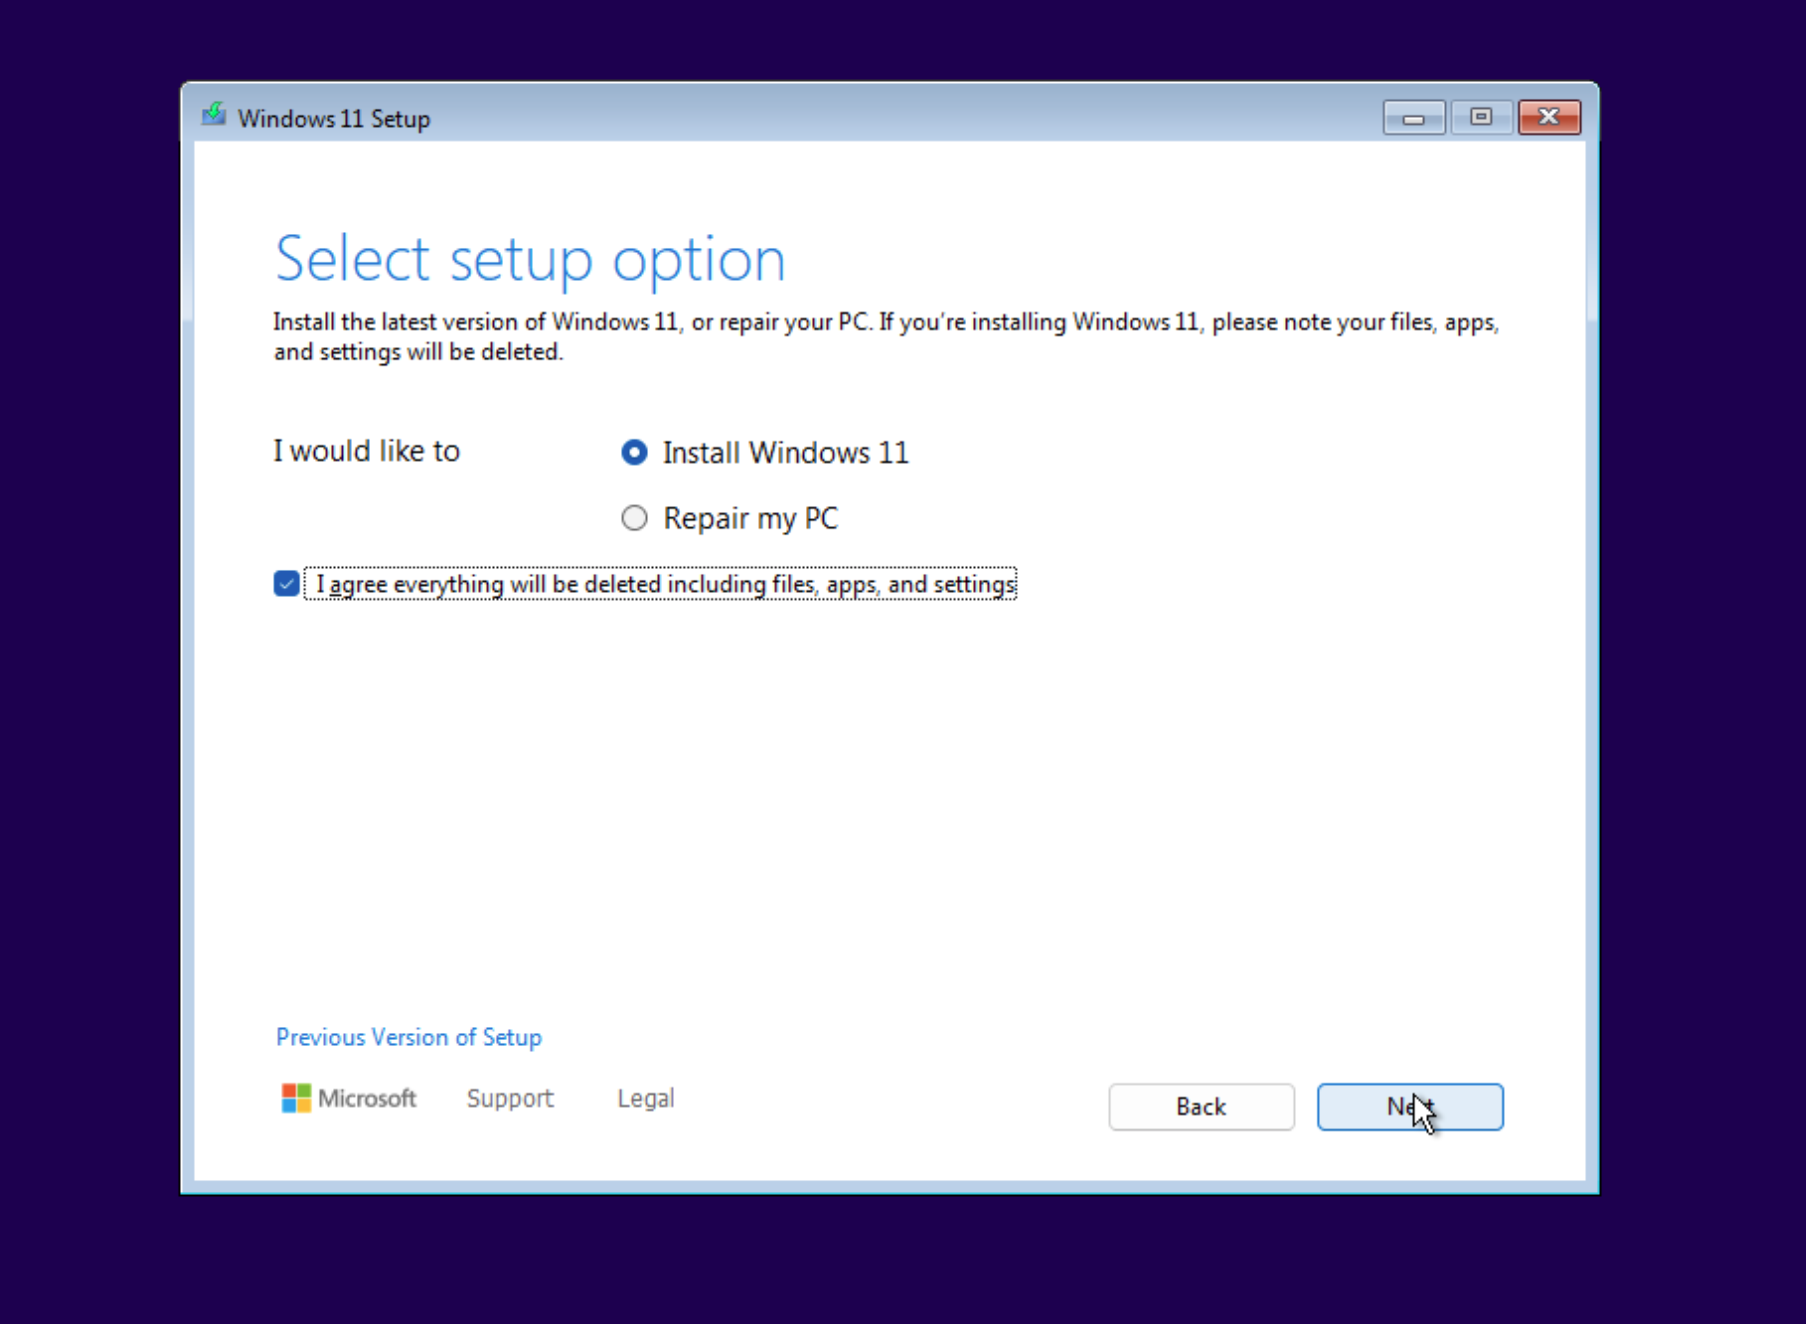
After that, select the option to “Install Windows 11” and check the box to agree that all data on your PC will be erased permanently.
Then, click “Next” to proceed.
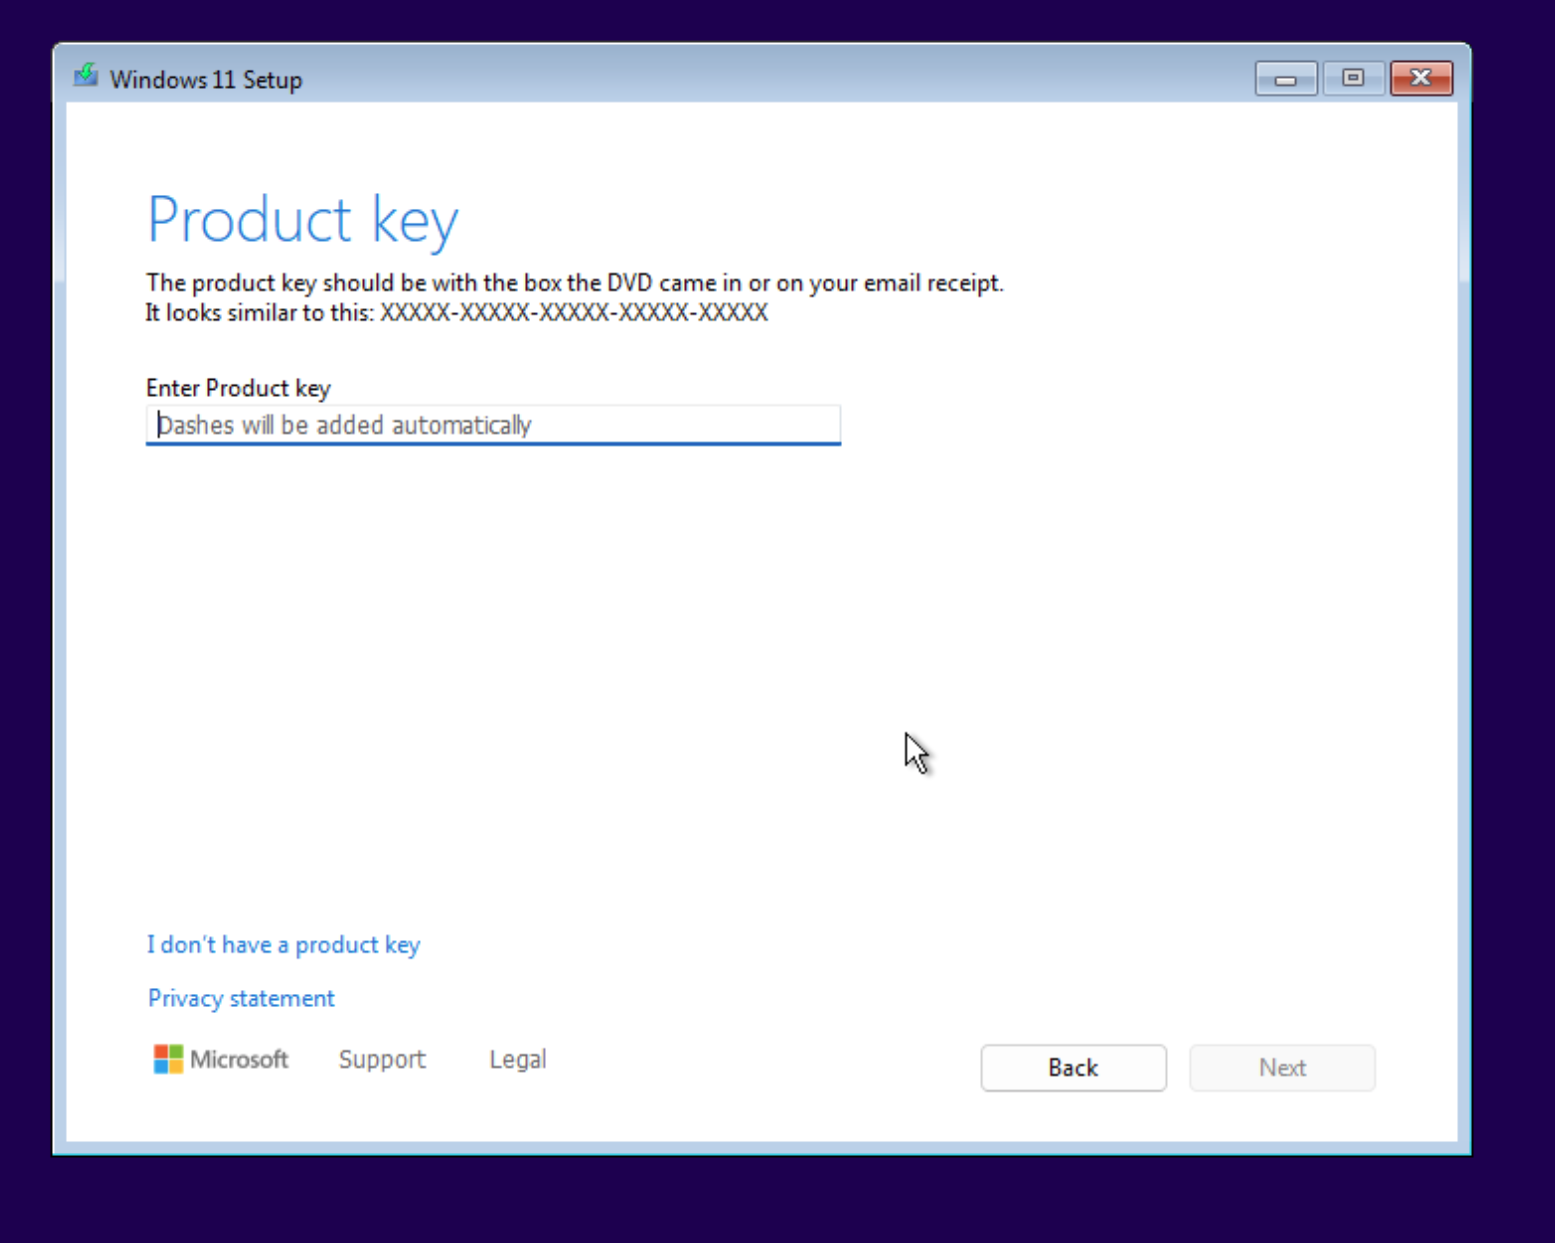
If you have a product key, you can enter it in the box below. If you don’t have a key yet, click on “I don’t have a product key.” You can enter it later in the settings.
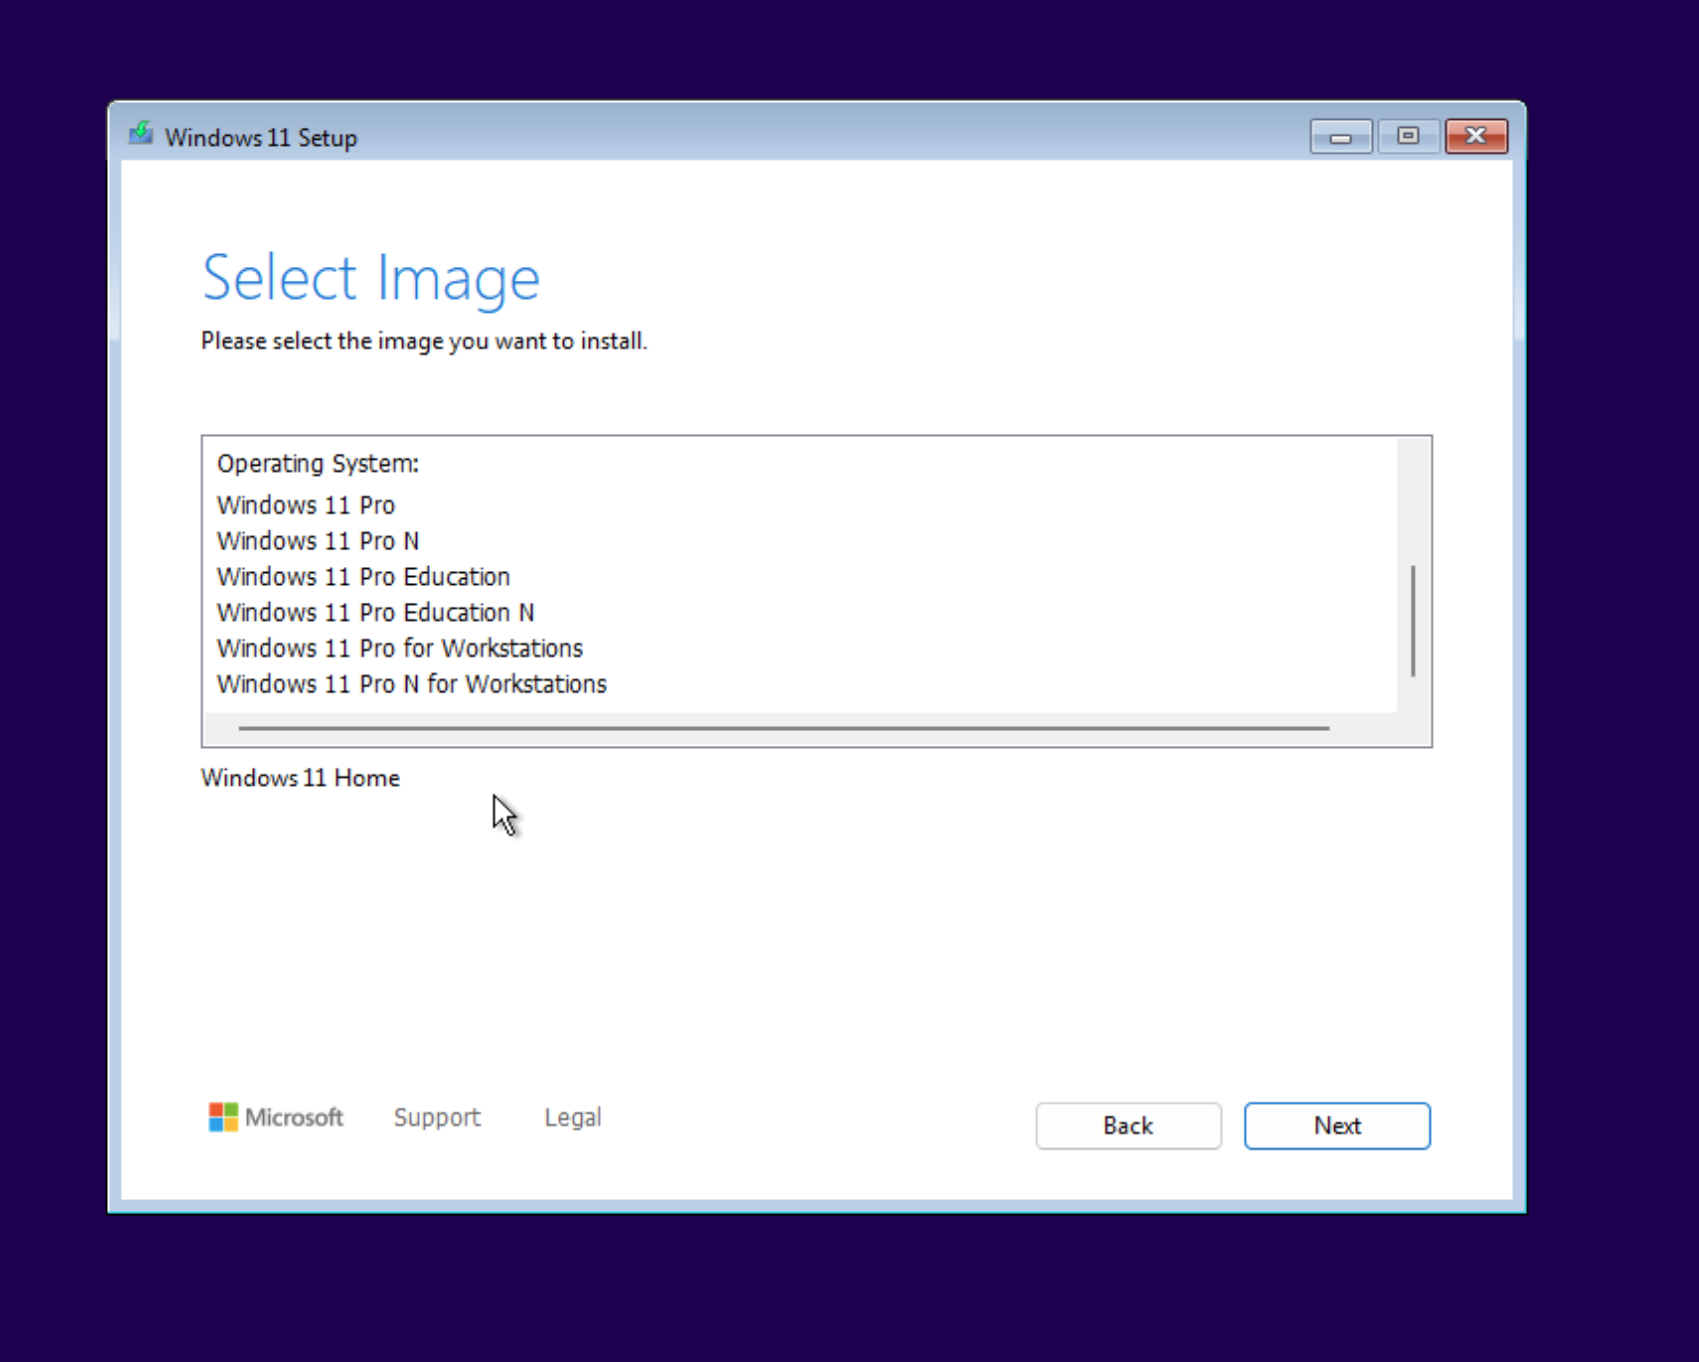
Select the image you want to boot. Be careful, as the image you choose must match the key you purchased. If they don’t match, you’ll need to start over.
After selecting the image, click “Next” to proceed.
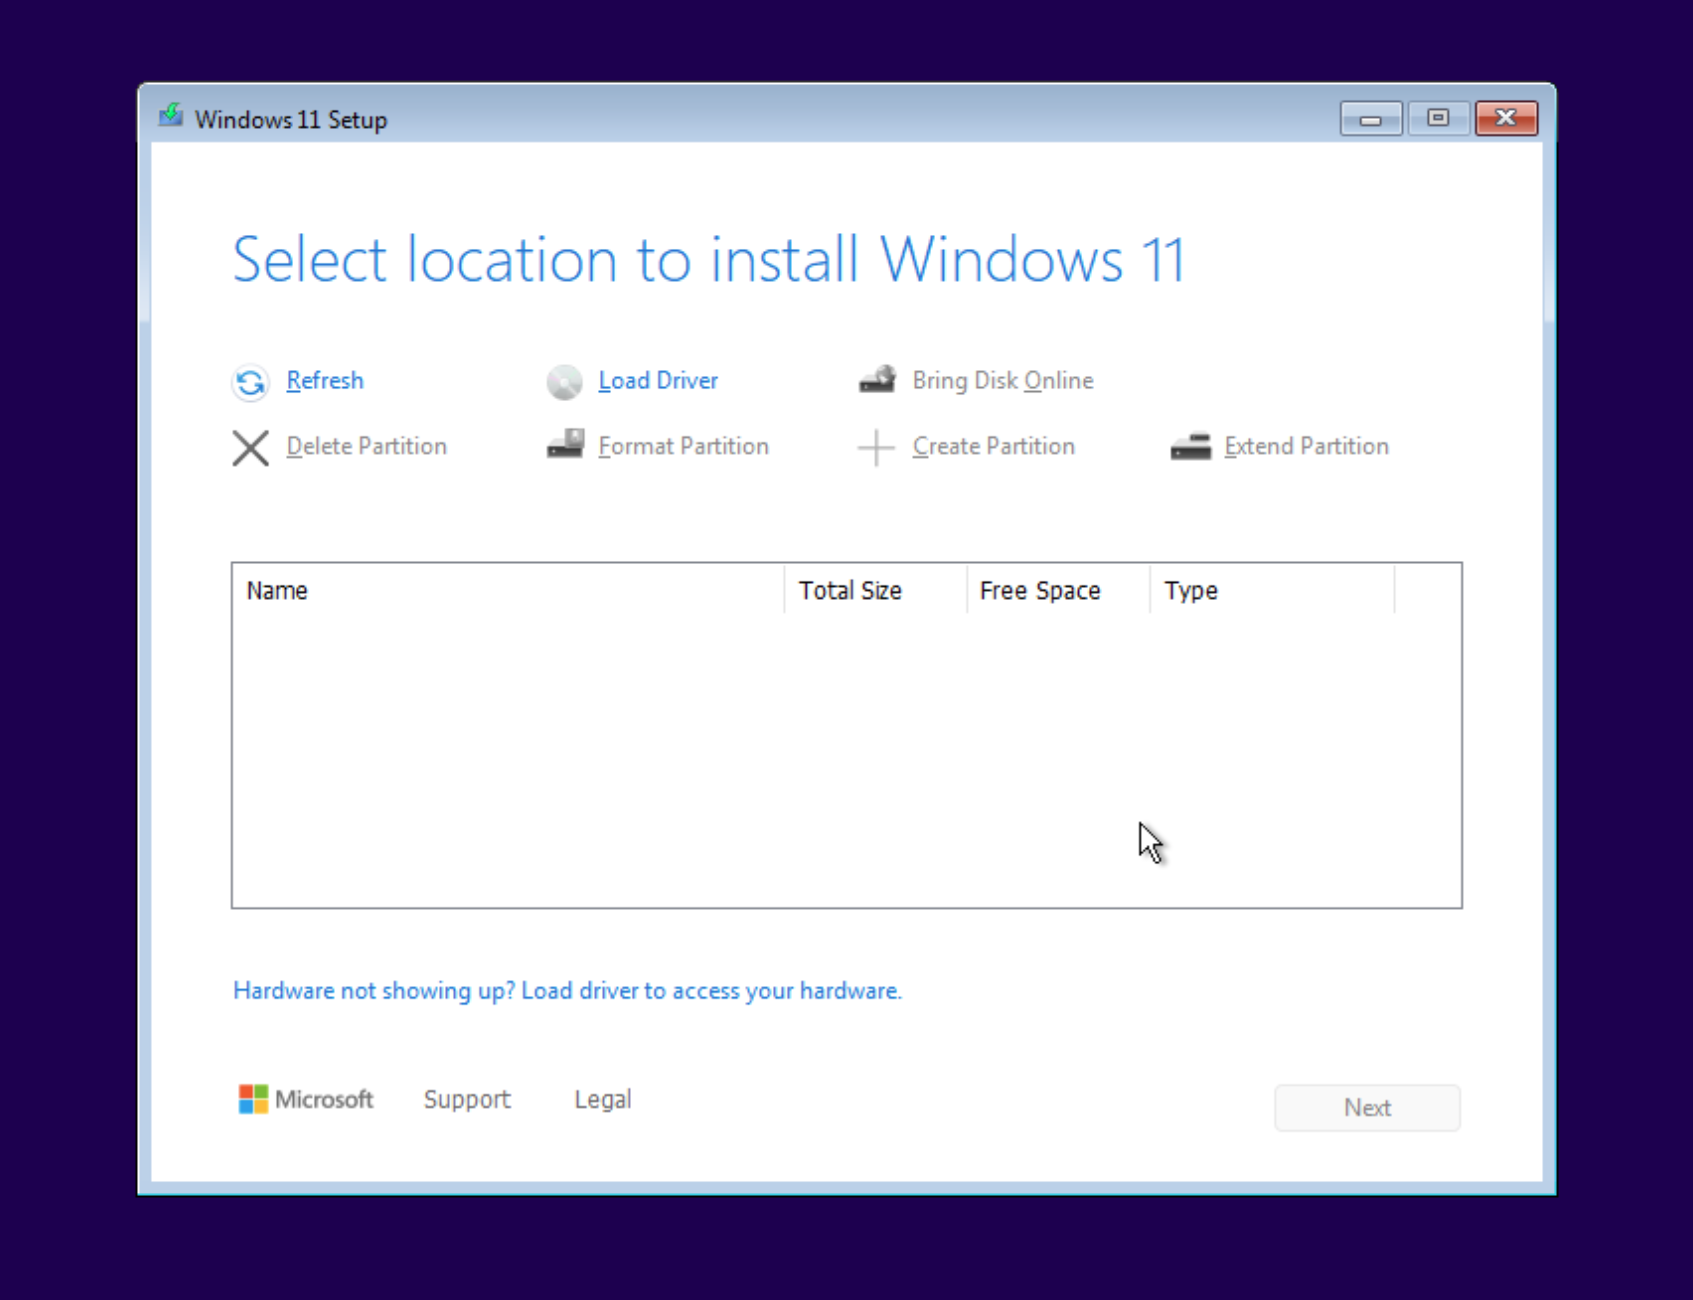
You are now prompted with a window where you should see all available disks or partitions. However, some PCs don’t have the necessary drivers to read these disks. In this case, you’ll need to visit your PC manufacturer’s website and search for the correct driver. Once you’ve found the right one, save it to another USB stick and insert it into an unused USB slot. To install the driver, click on “Load Driver.”
If you can already see the disks or partitions, you can skip this step, the next one, and the step after that.
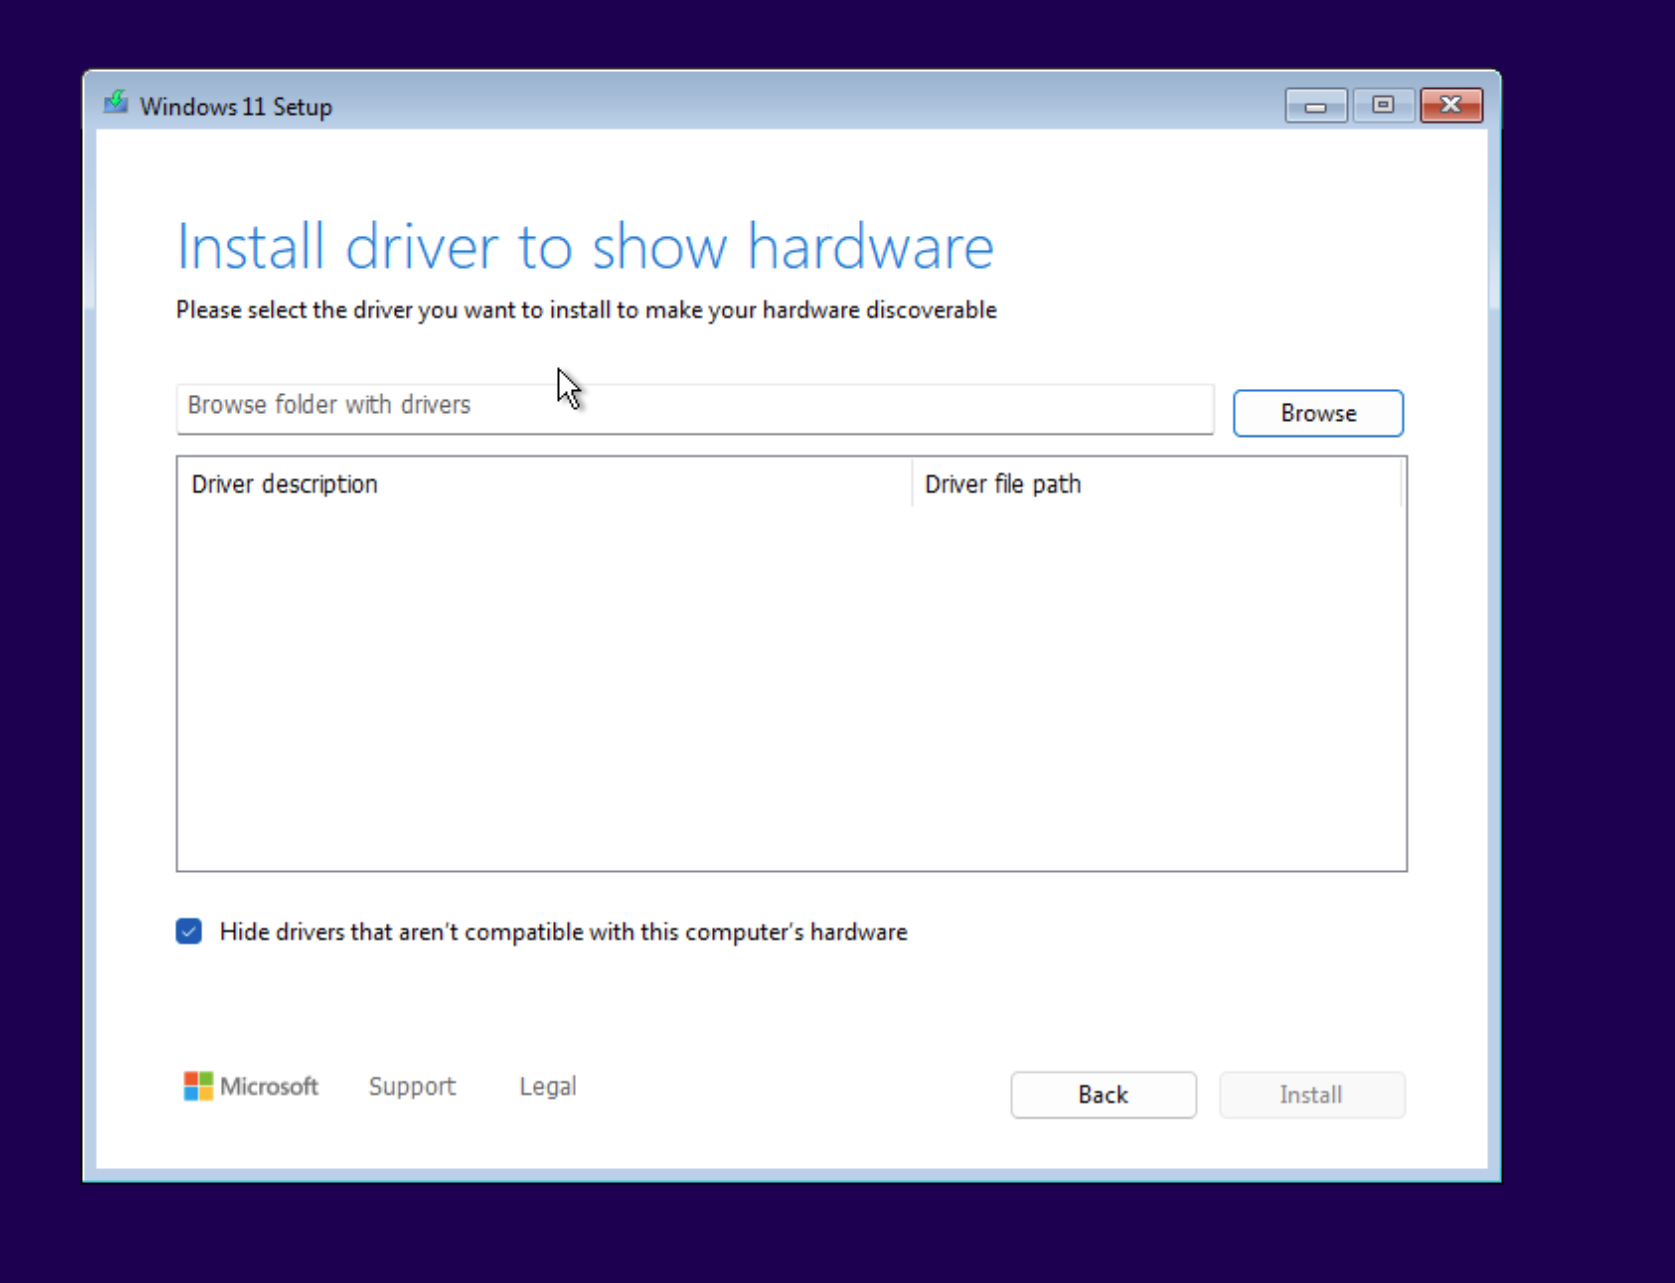
Click on “Browse” and select the newly plugged-in USB stick. Choose the folder containing the drivers and let the PC search for compatible options. If any drivers are found, install them one by one until the disks become visible.
From my experience, you should be fine if you load more drivers.
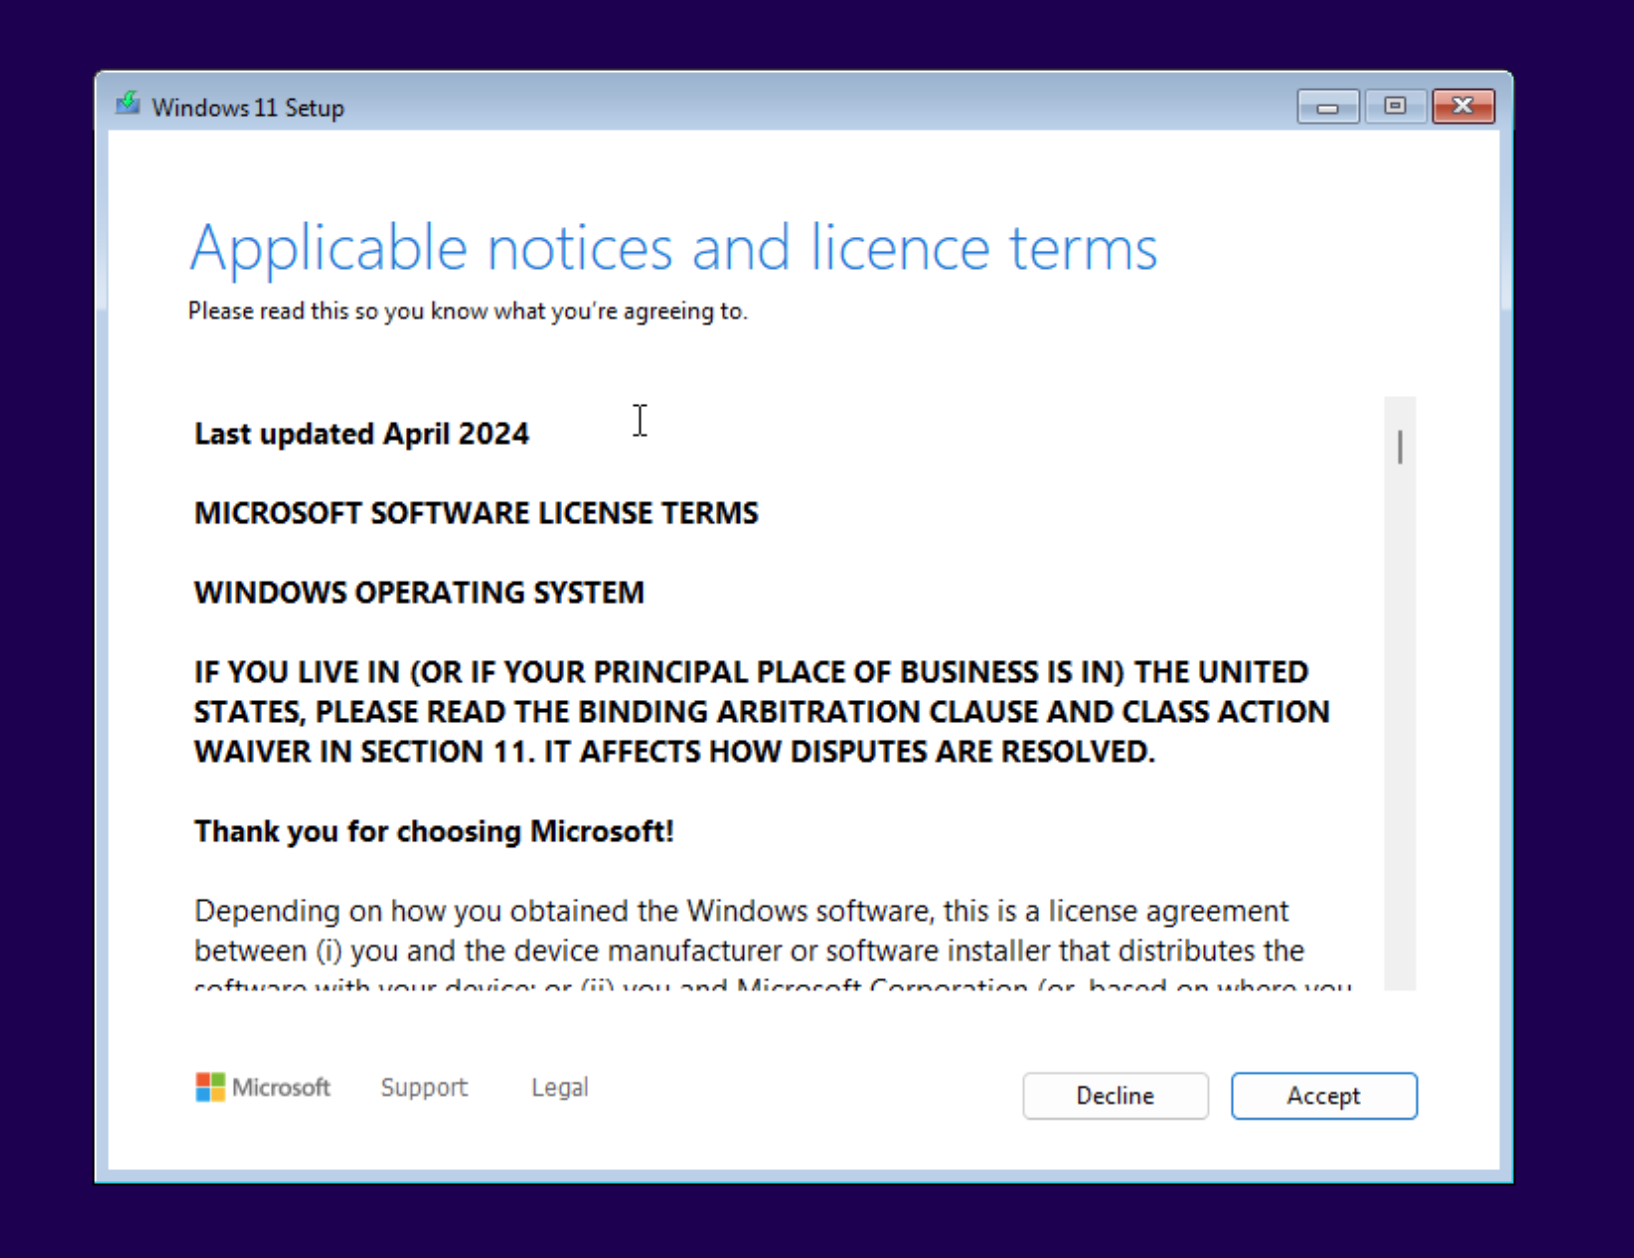
At some point during the installation of the Windows image, you will be prompted with a window displaying the applicable notices and license terms. I am obligated to advise you to read these carefully and then decide whether to accept them. Personally, I accepted them and clicked “Accept.”
This window usually appears after selecting the image, but after installing over 100 Windows images, I’ve noticed that the order can vary slightly. In this particular installation, I was even prompted with this window twice.
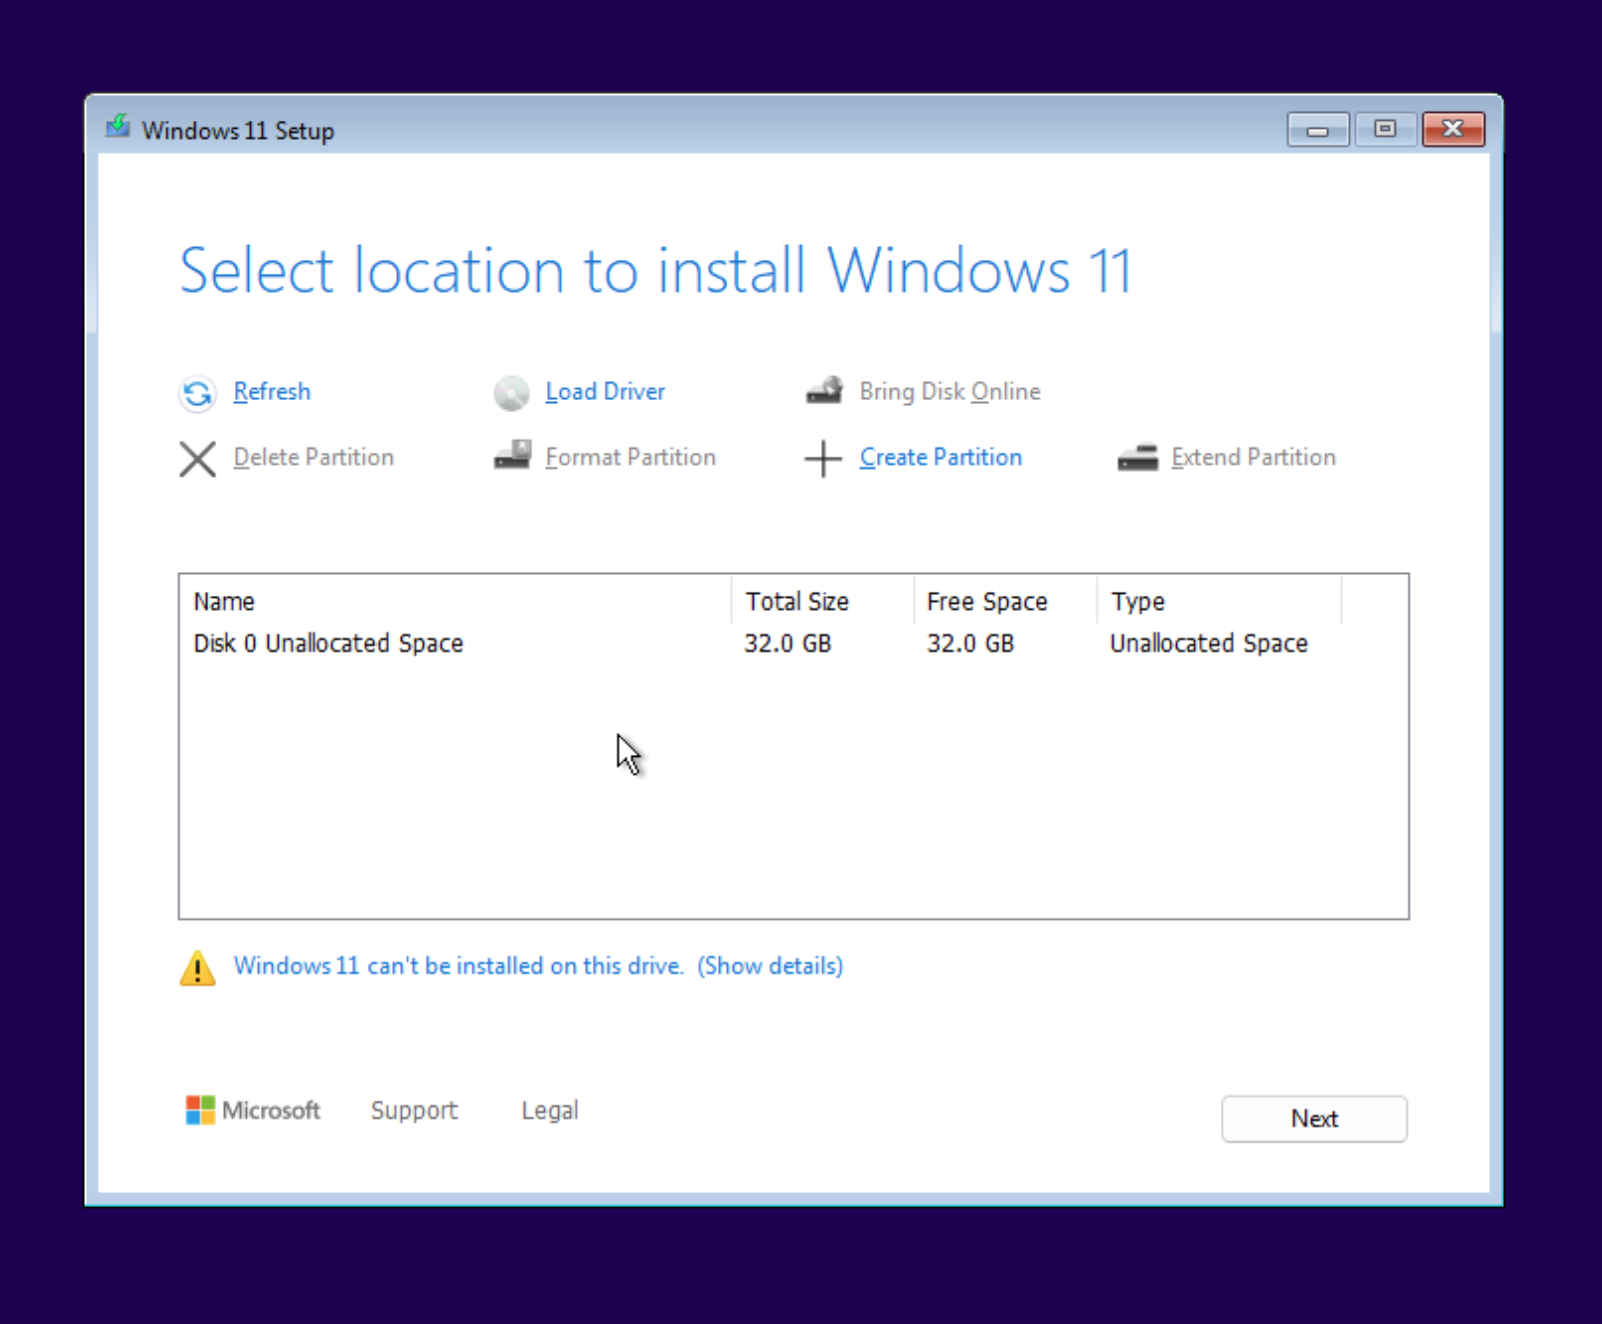
Now that we can see the disk, we’re good to go.
Note that I only see one disk because I’m installing Windows on a virtual machine. If you’re doing this on your PC, you should see about four partitions or disks, along with available space and the USB stick.
Don’t worry—you won’t be able to delete any partitions or disks that aren’t meant to be deleted. Simply select each one, and if the option to “Delete Partition” is available, go ahead and delete it. If it’s not, skip that partition.
Once you’re finished, you should see one large disk labeled as “Available Space”. Select it and press “Next” to proceed.
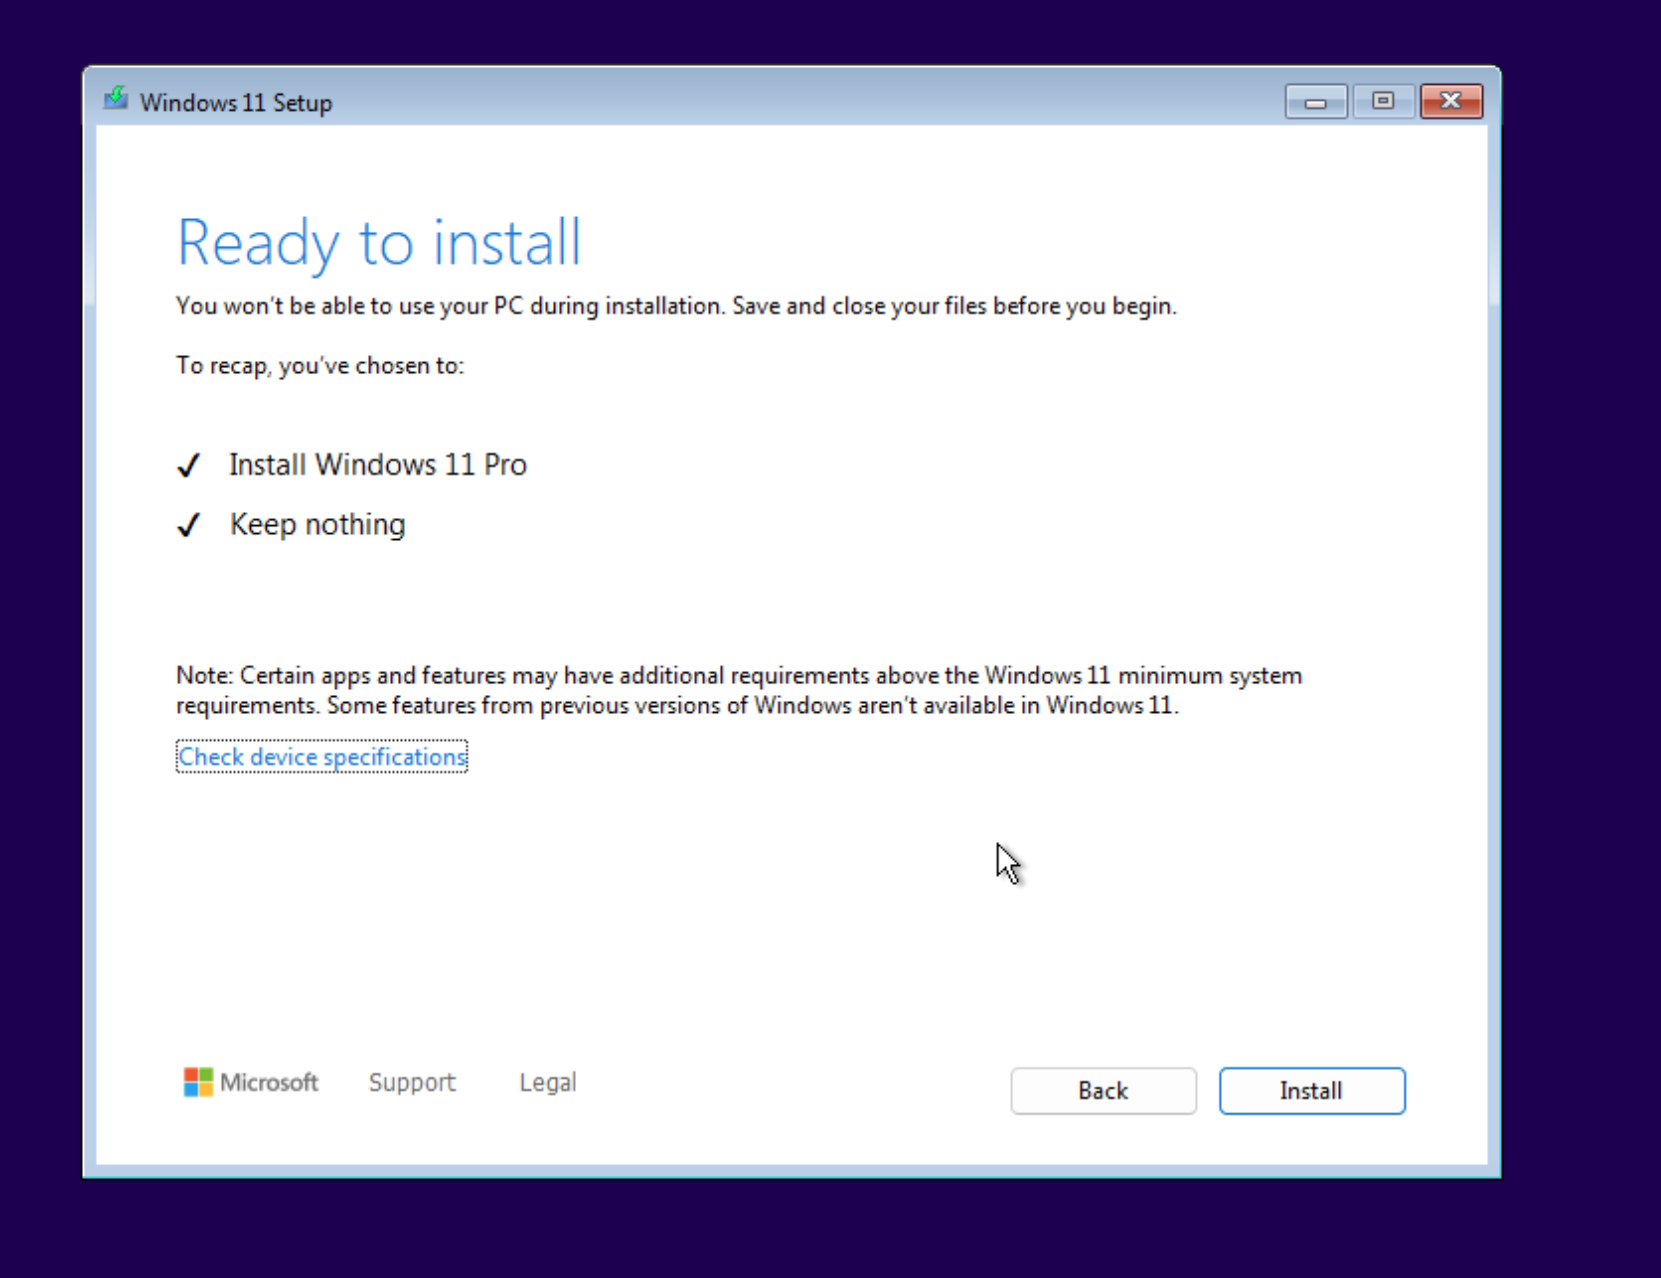
We are now ready to install Windows. Once you press “Install,” there’s no turning back.
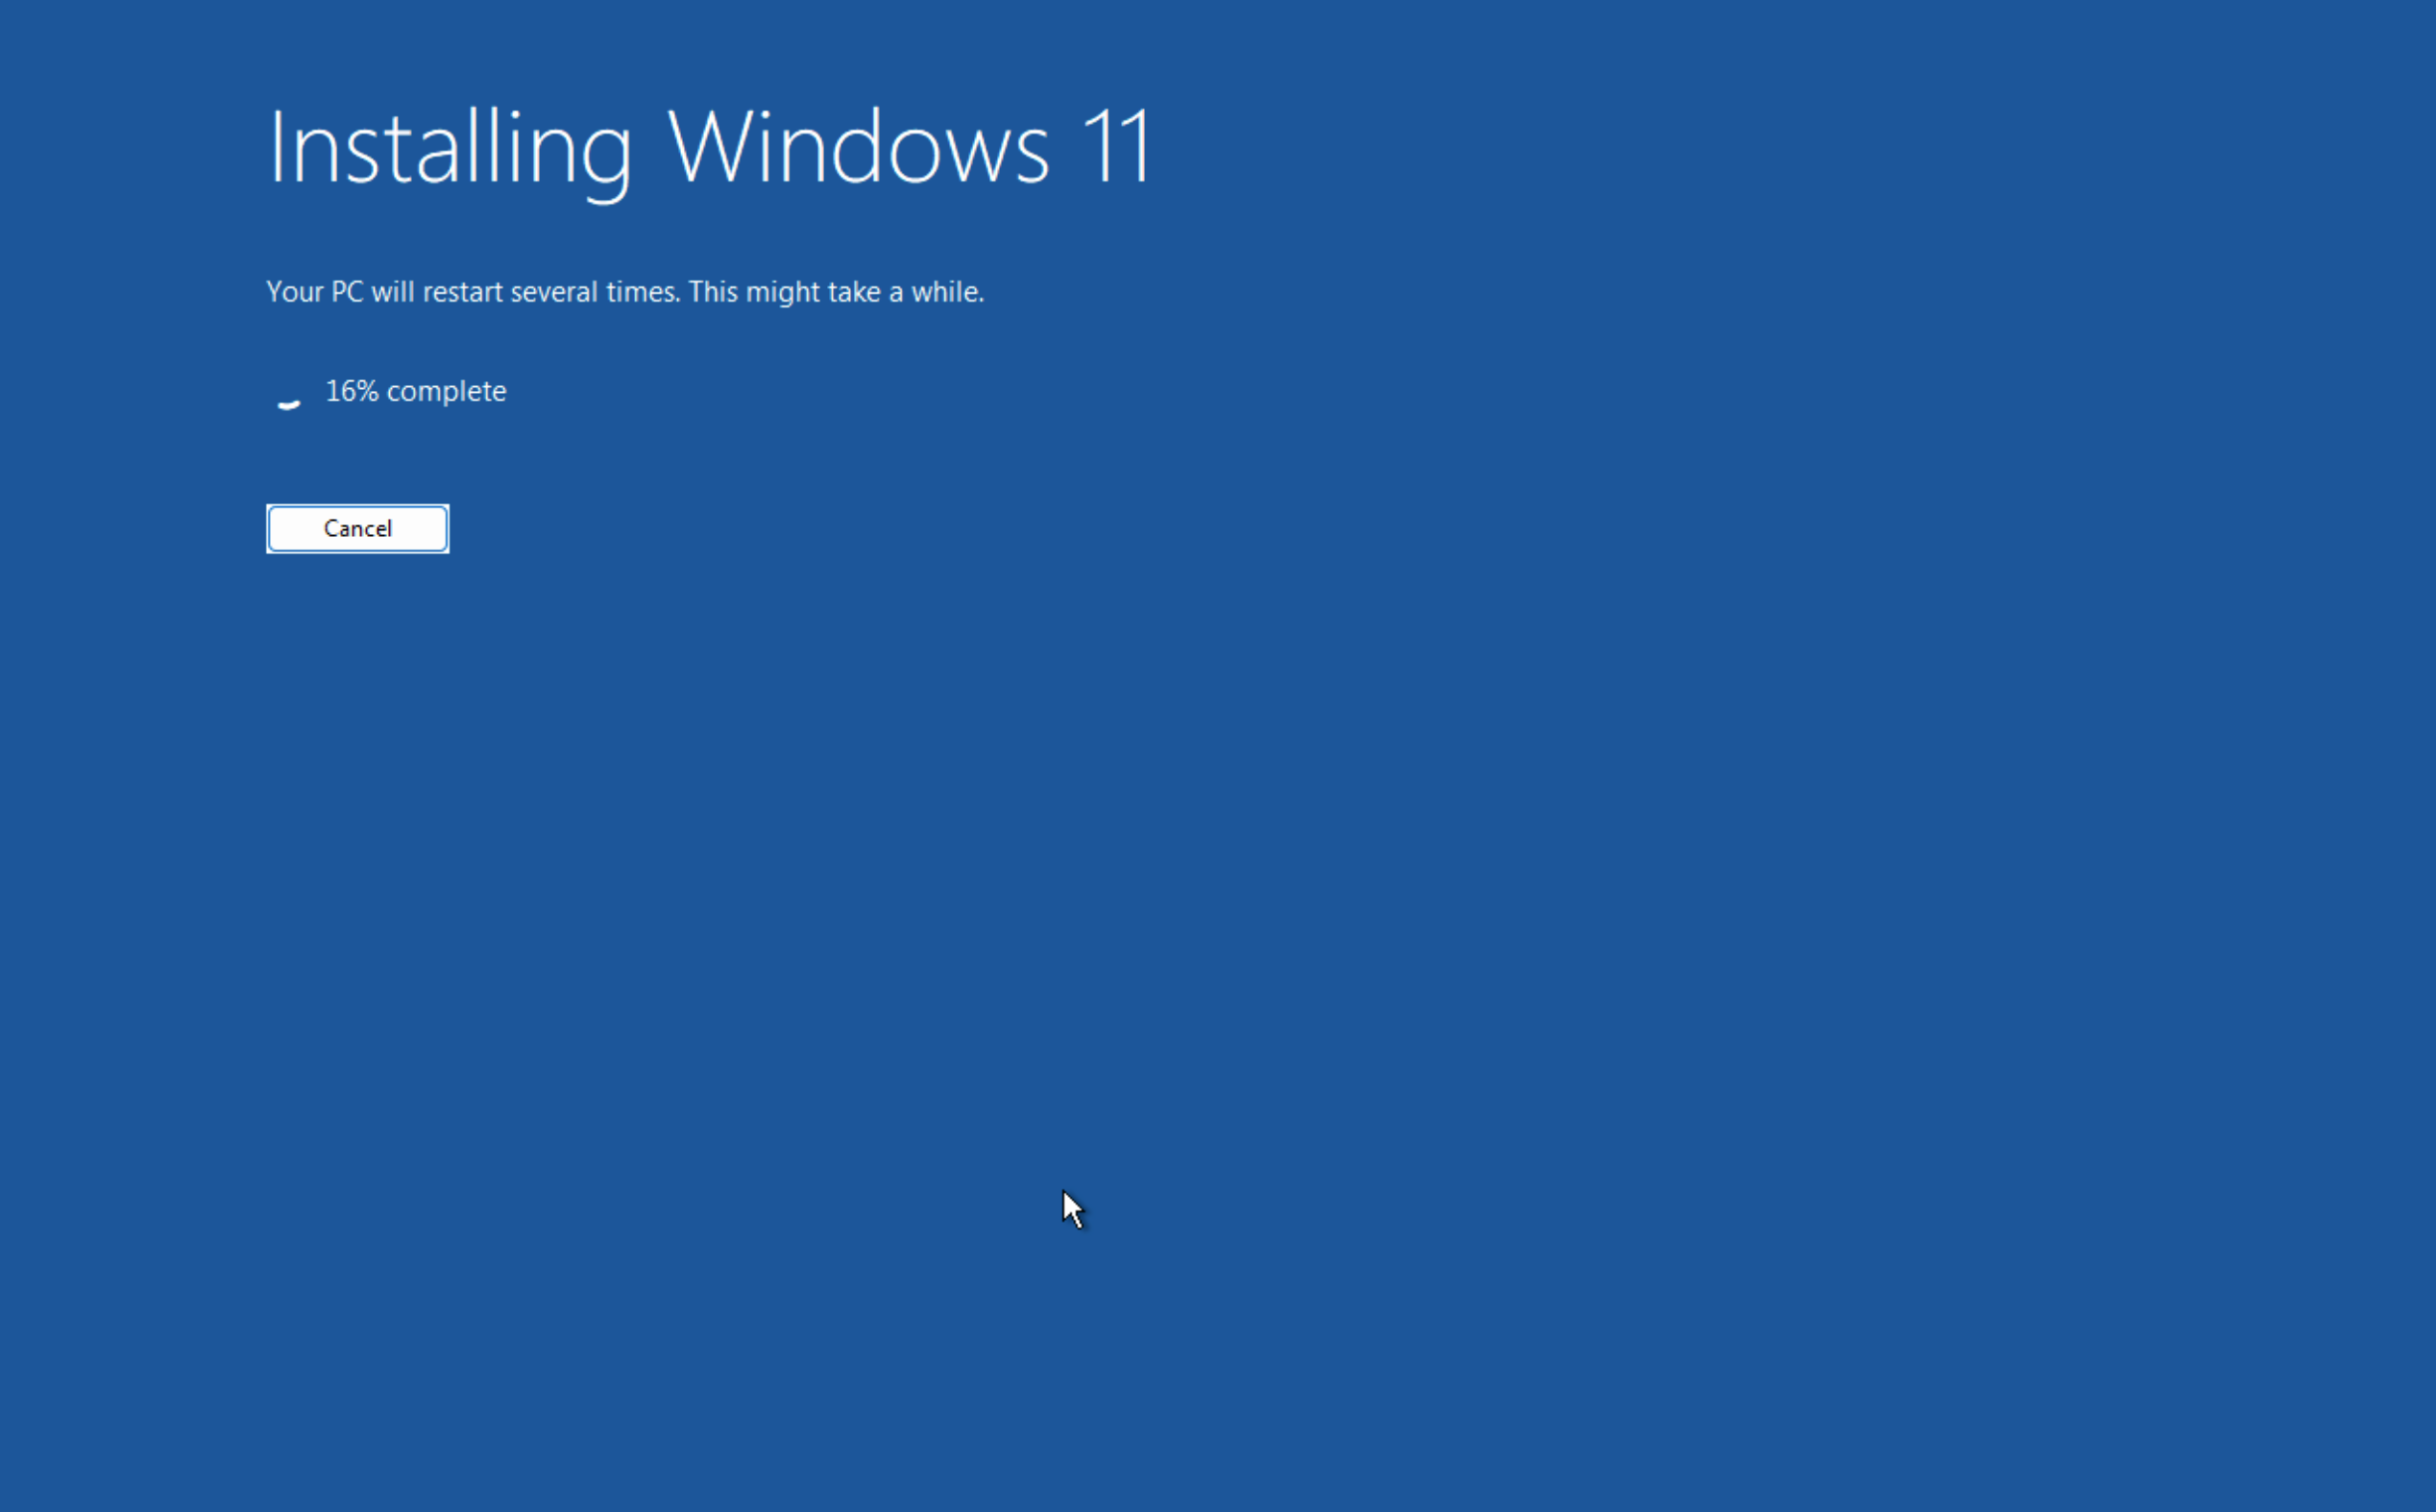
You should now see a blue screen. Do not press anything, and make sure NOT to turn off your PC.
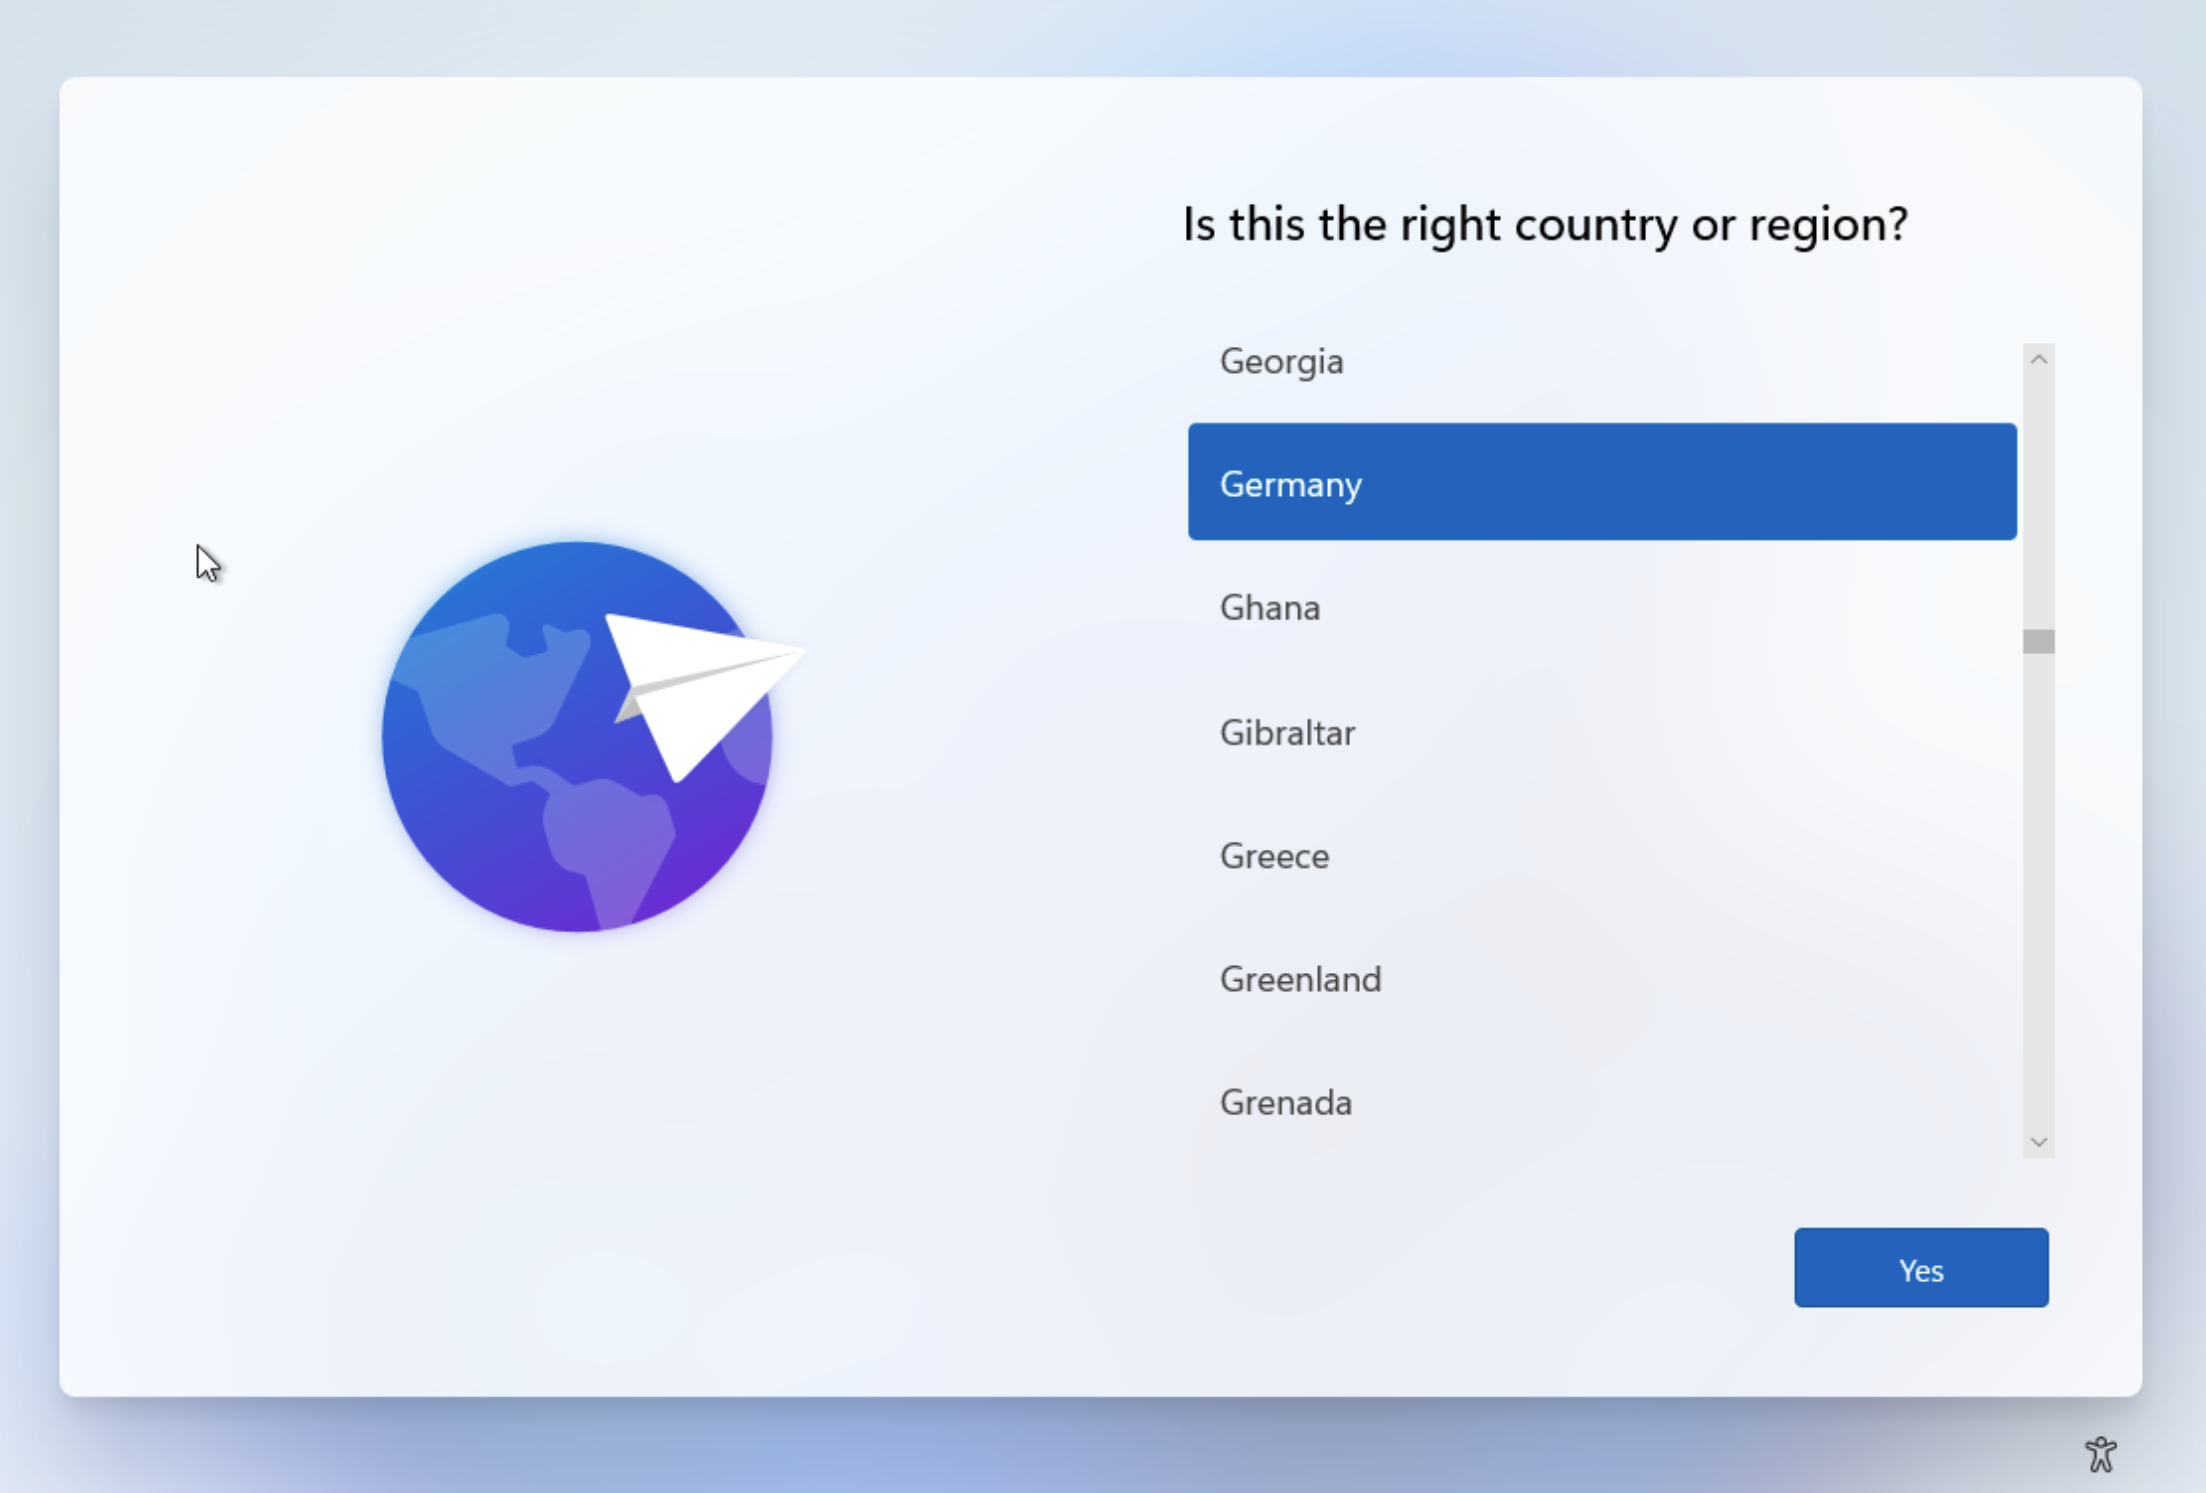
After everything is complete, the PC should restart automatically. You will then be prompted with a window asking you to select your country. Choose your country and press “Yes.”
Select your keyboard input and then press “Yes.”
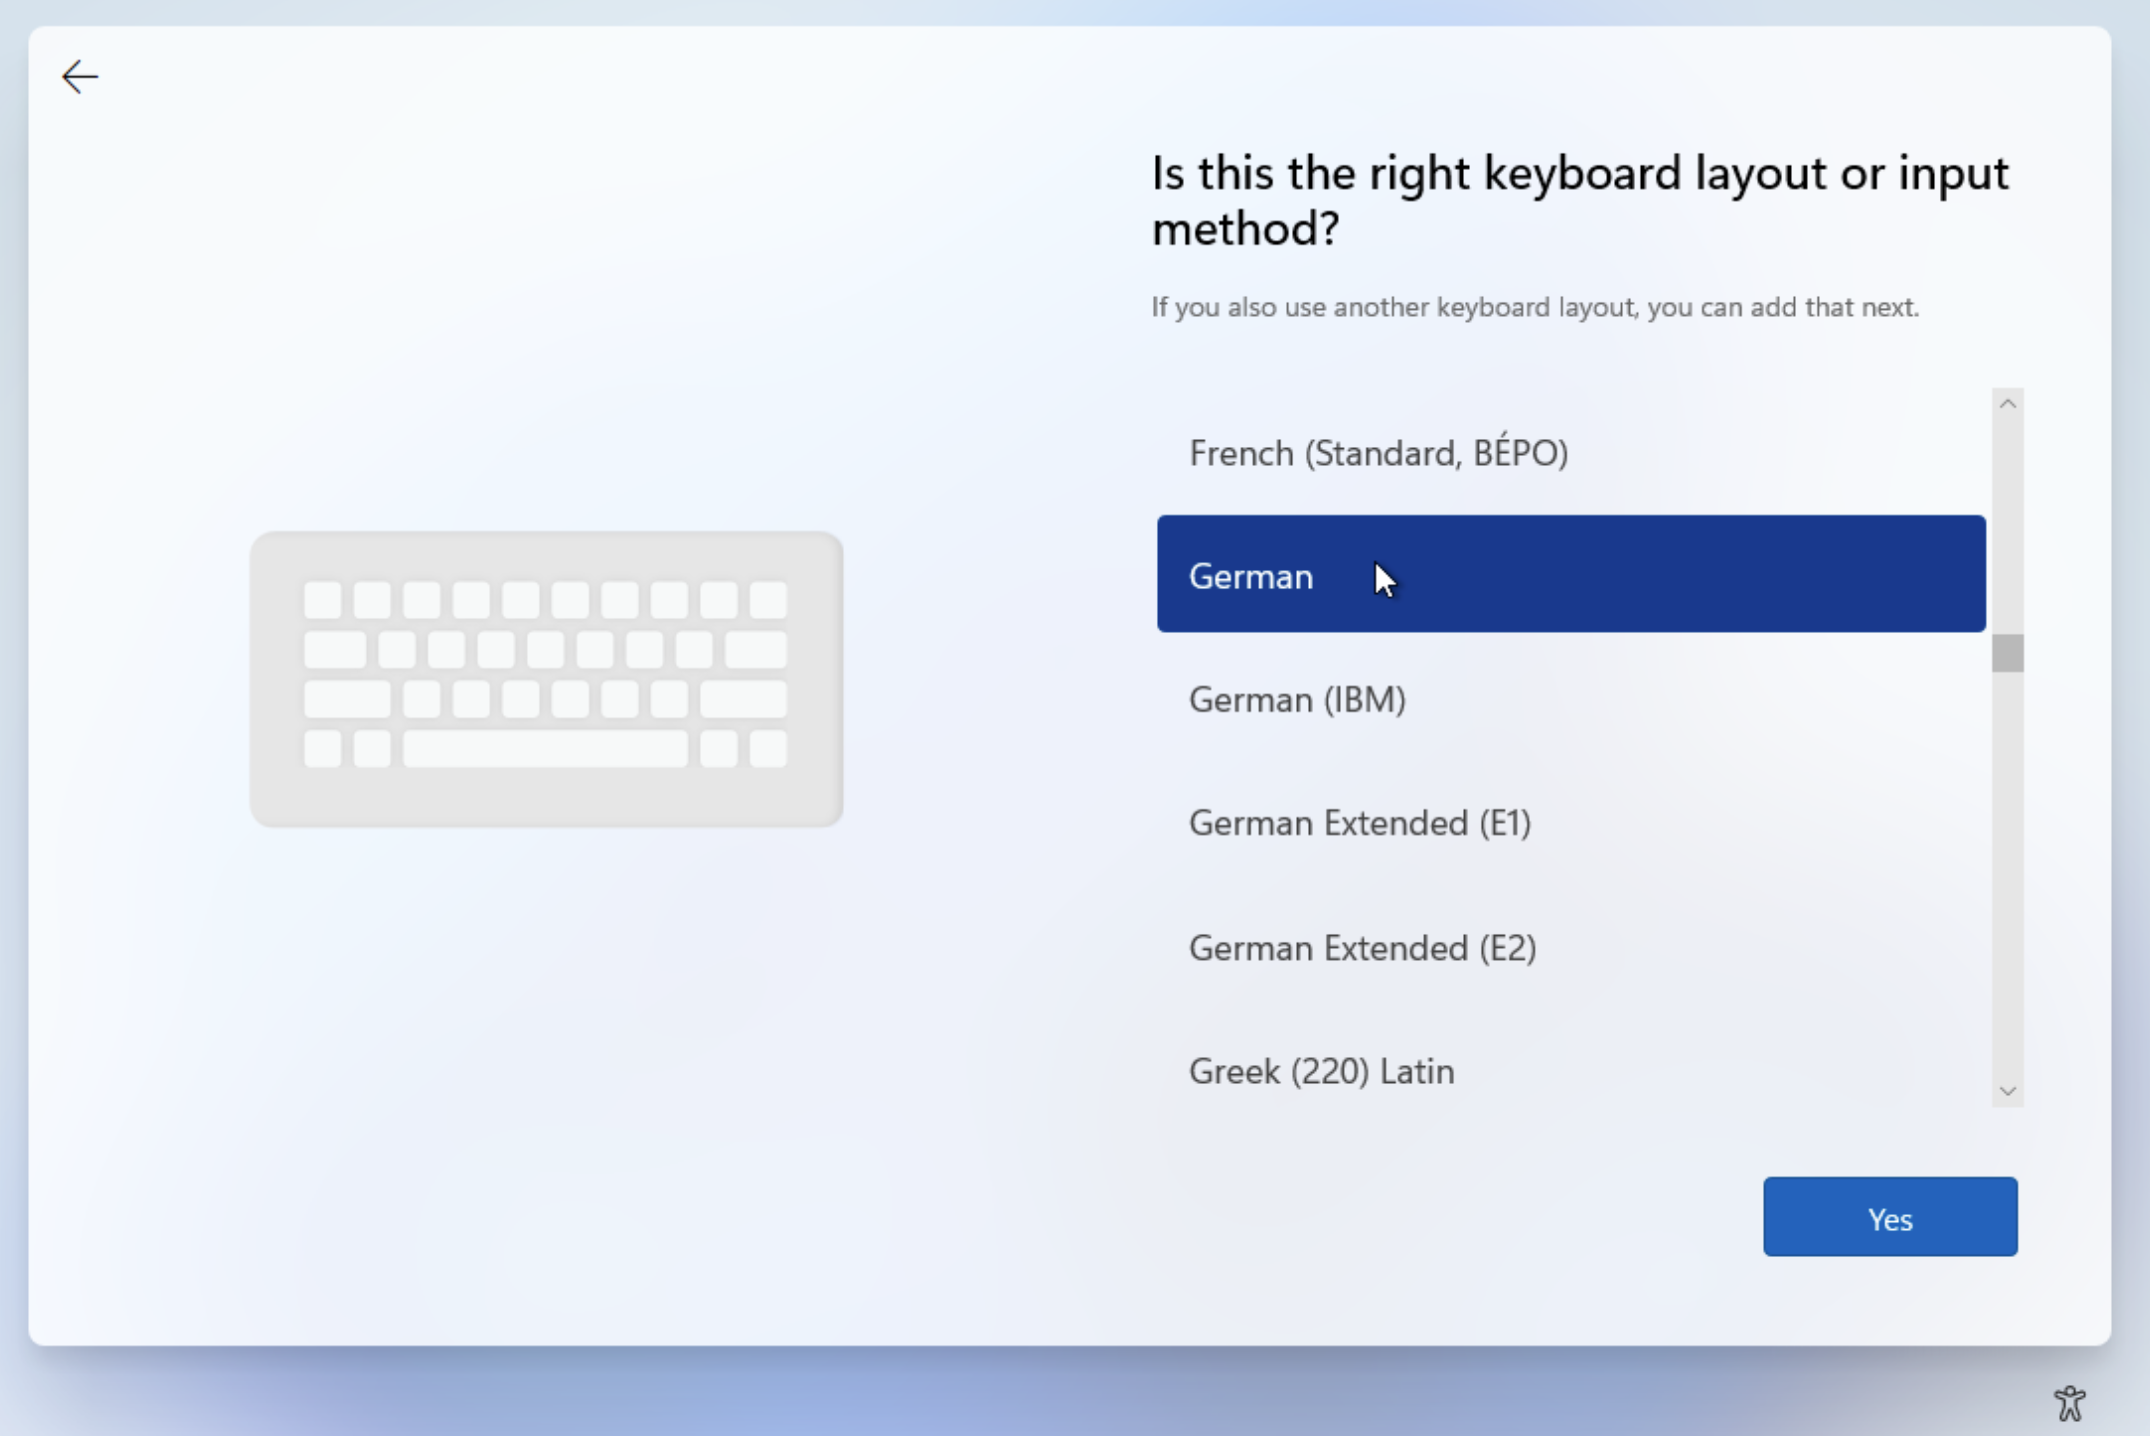
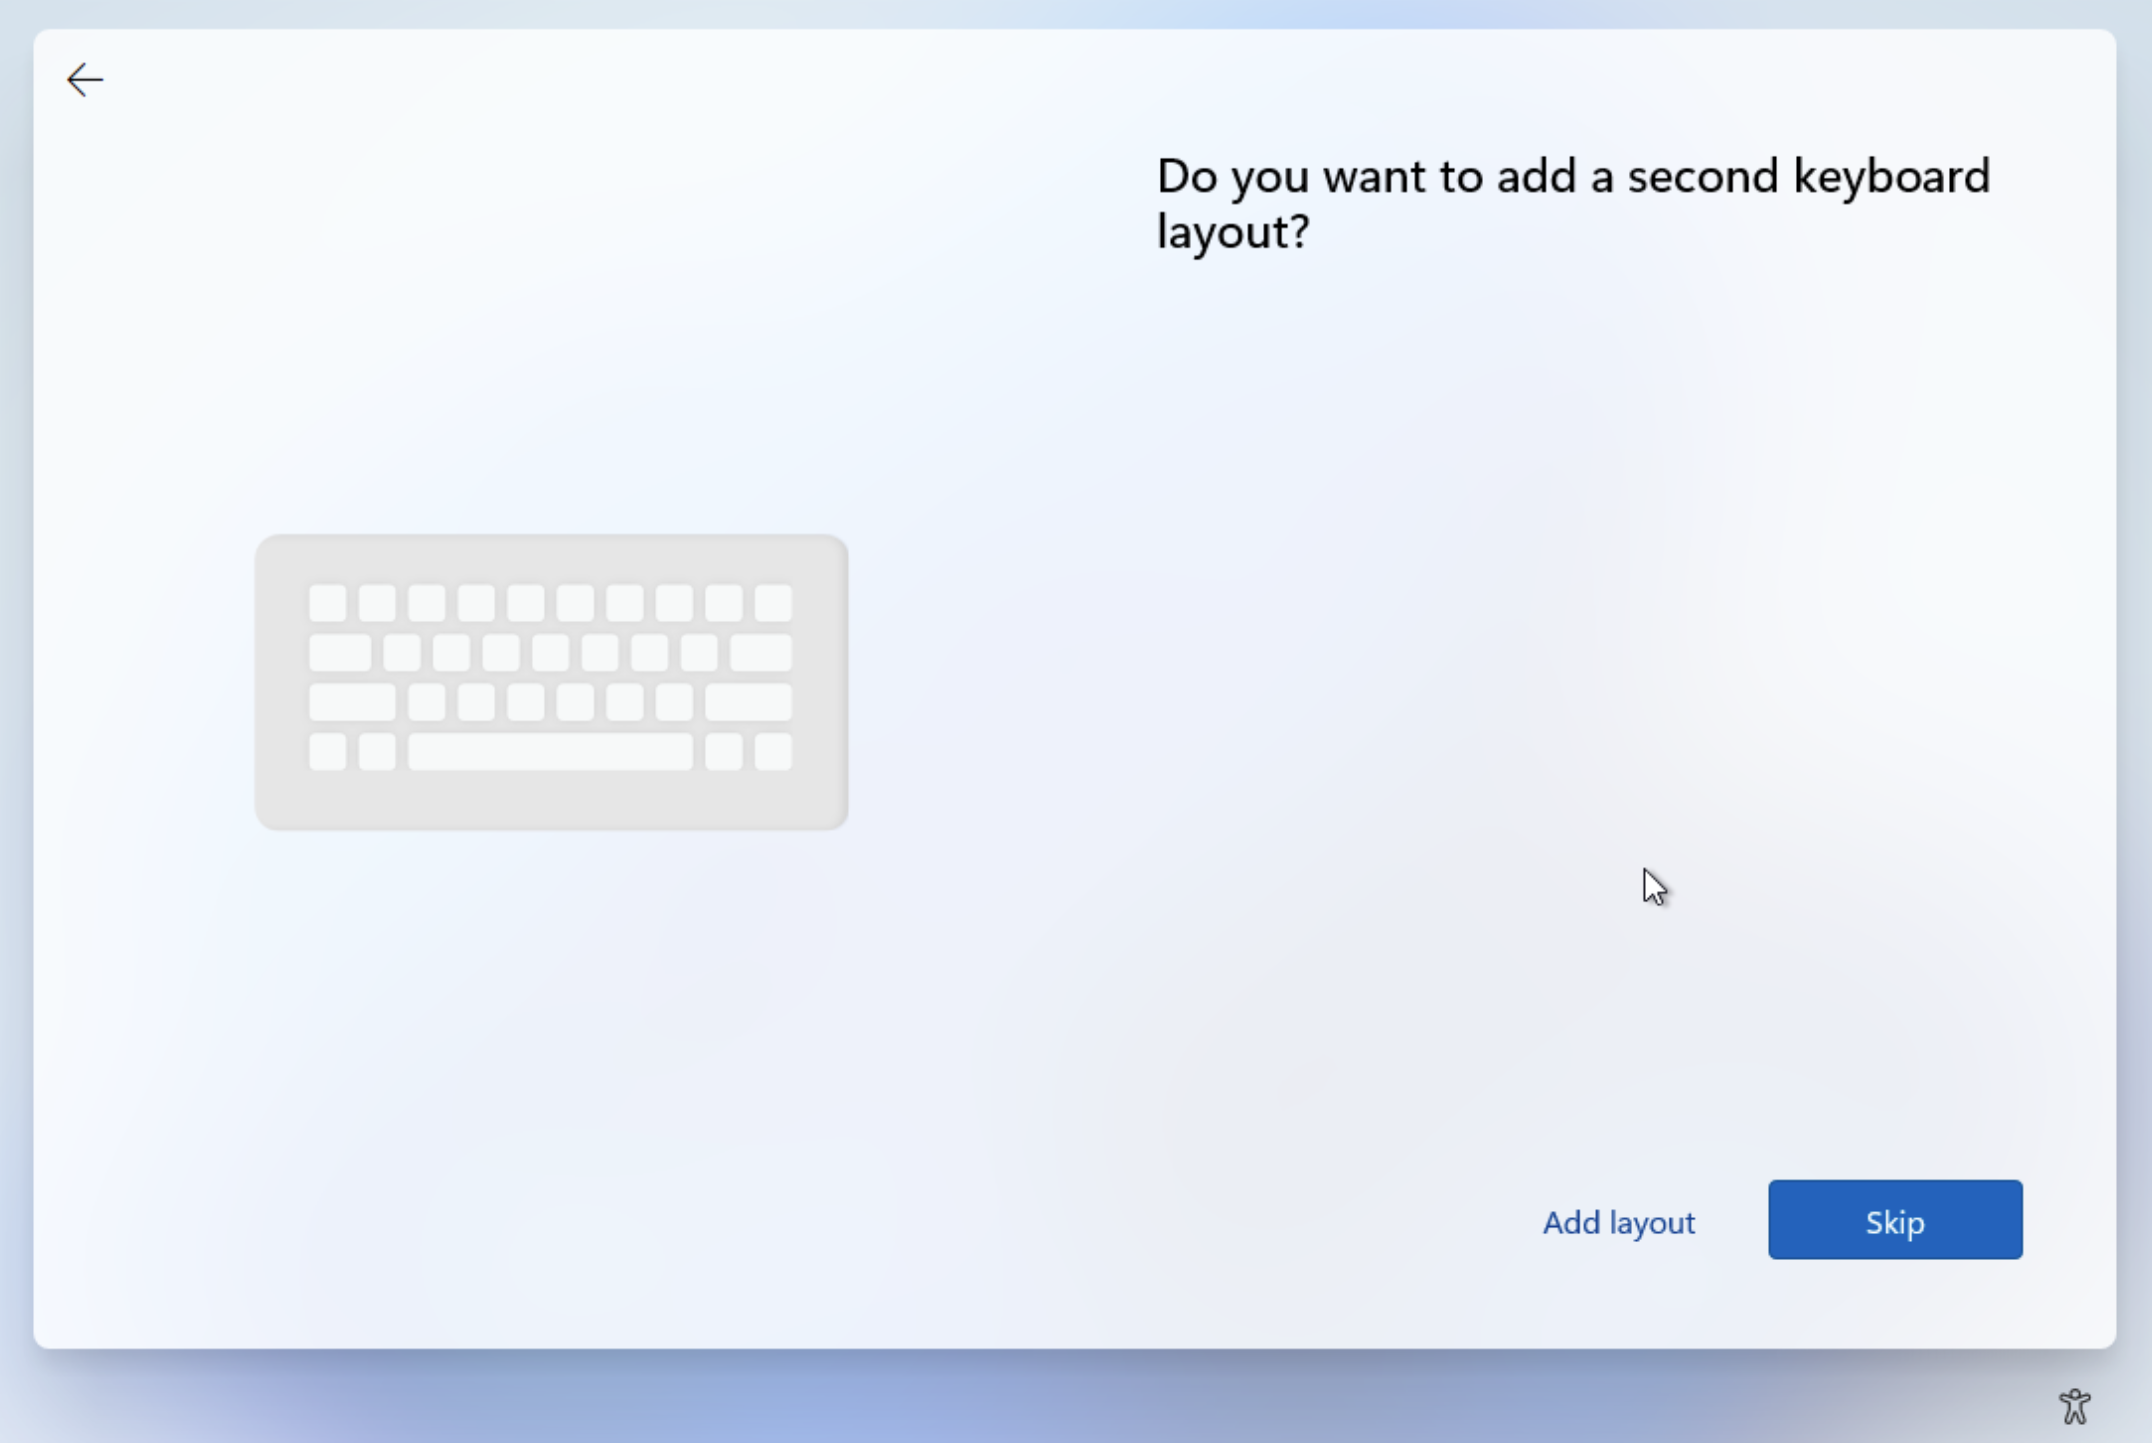
If you want to add another keyboard layout, do so. Otherwise, press “Skip.”
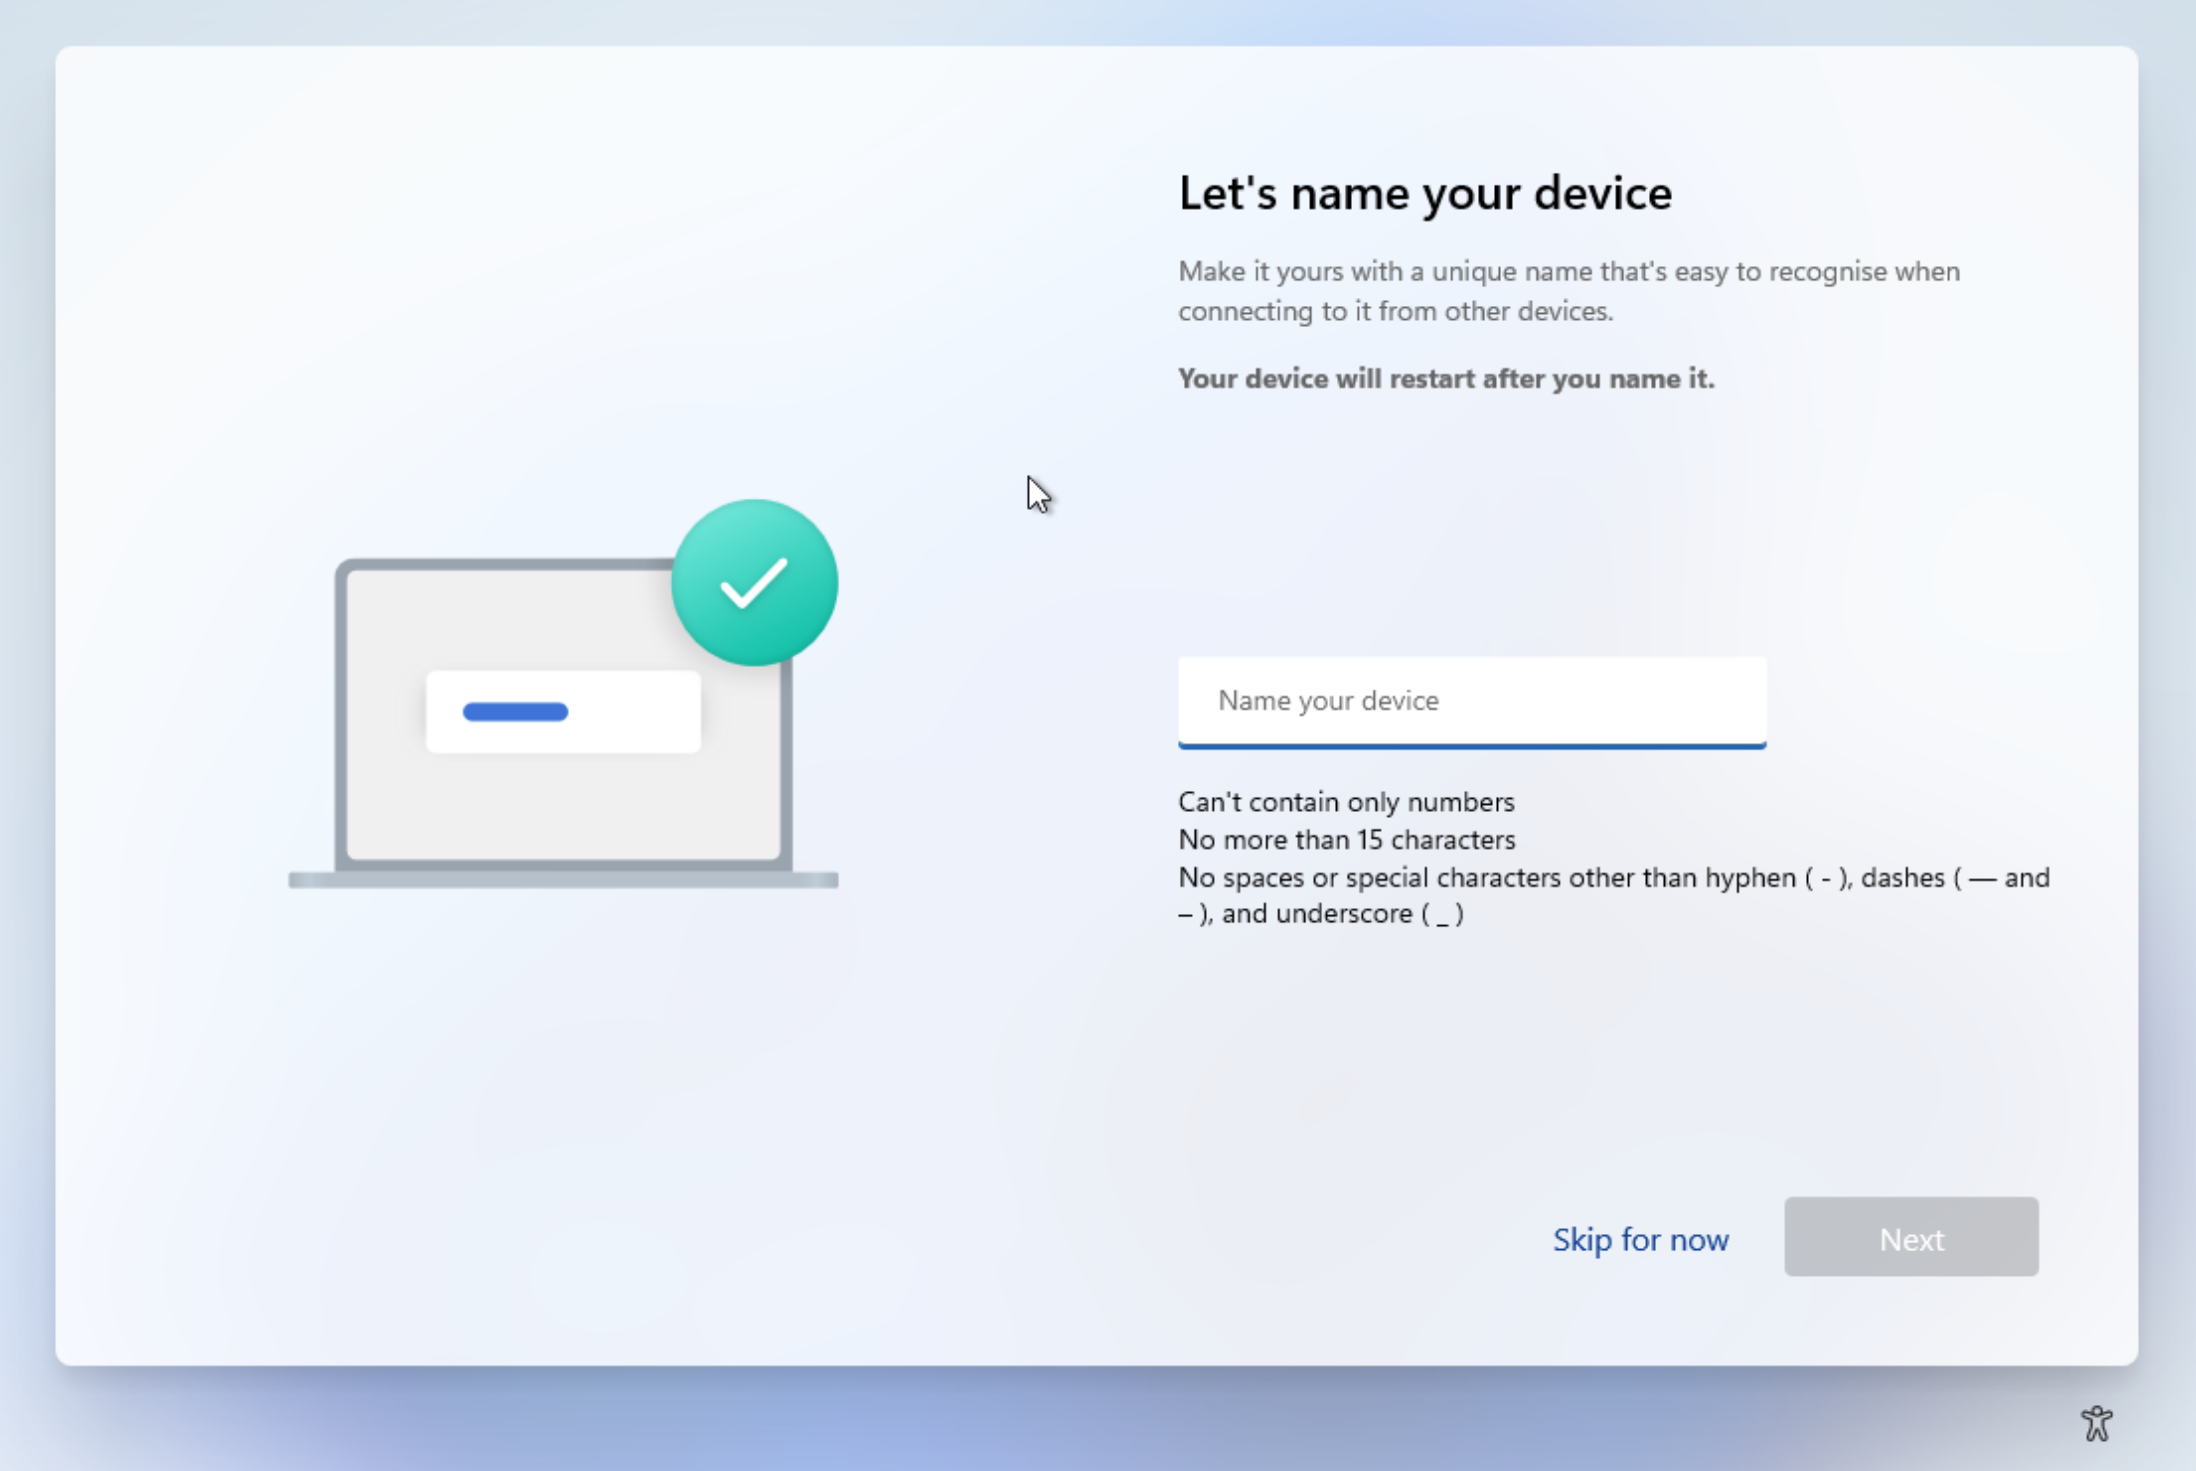
Name your device. This is how your device will be identified online by other devices, such as Bluetooth devices or routers. If you skip this step, the device will be given a default name like “Desktop-” followed by a combination of characters.
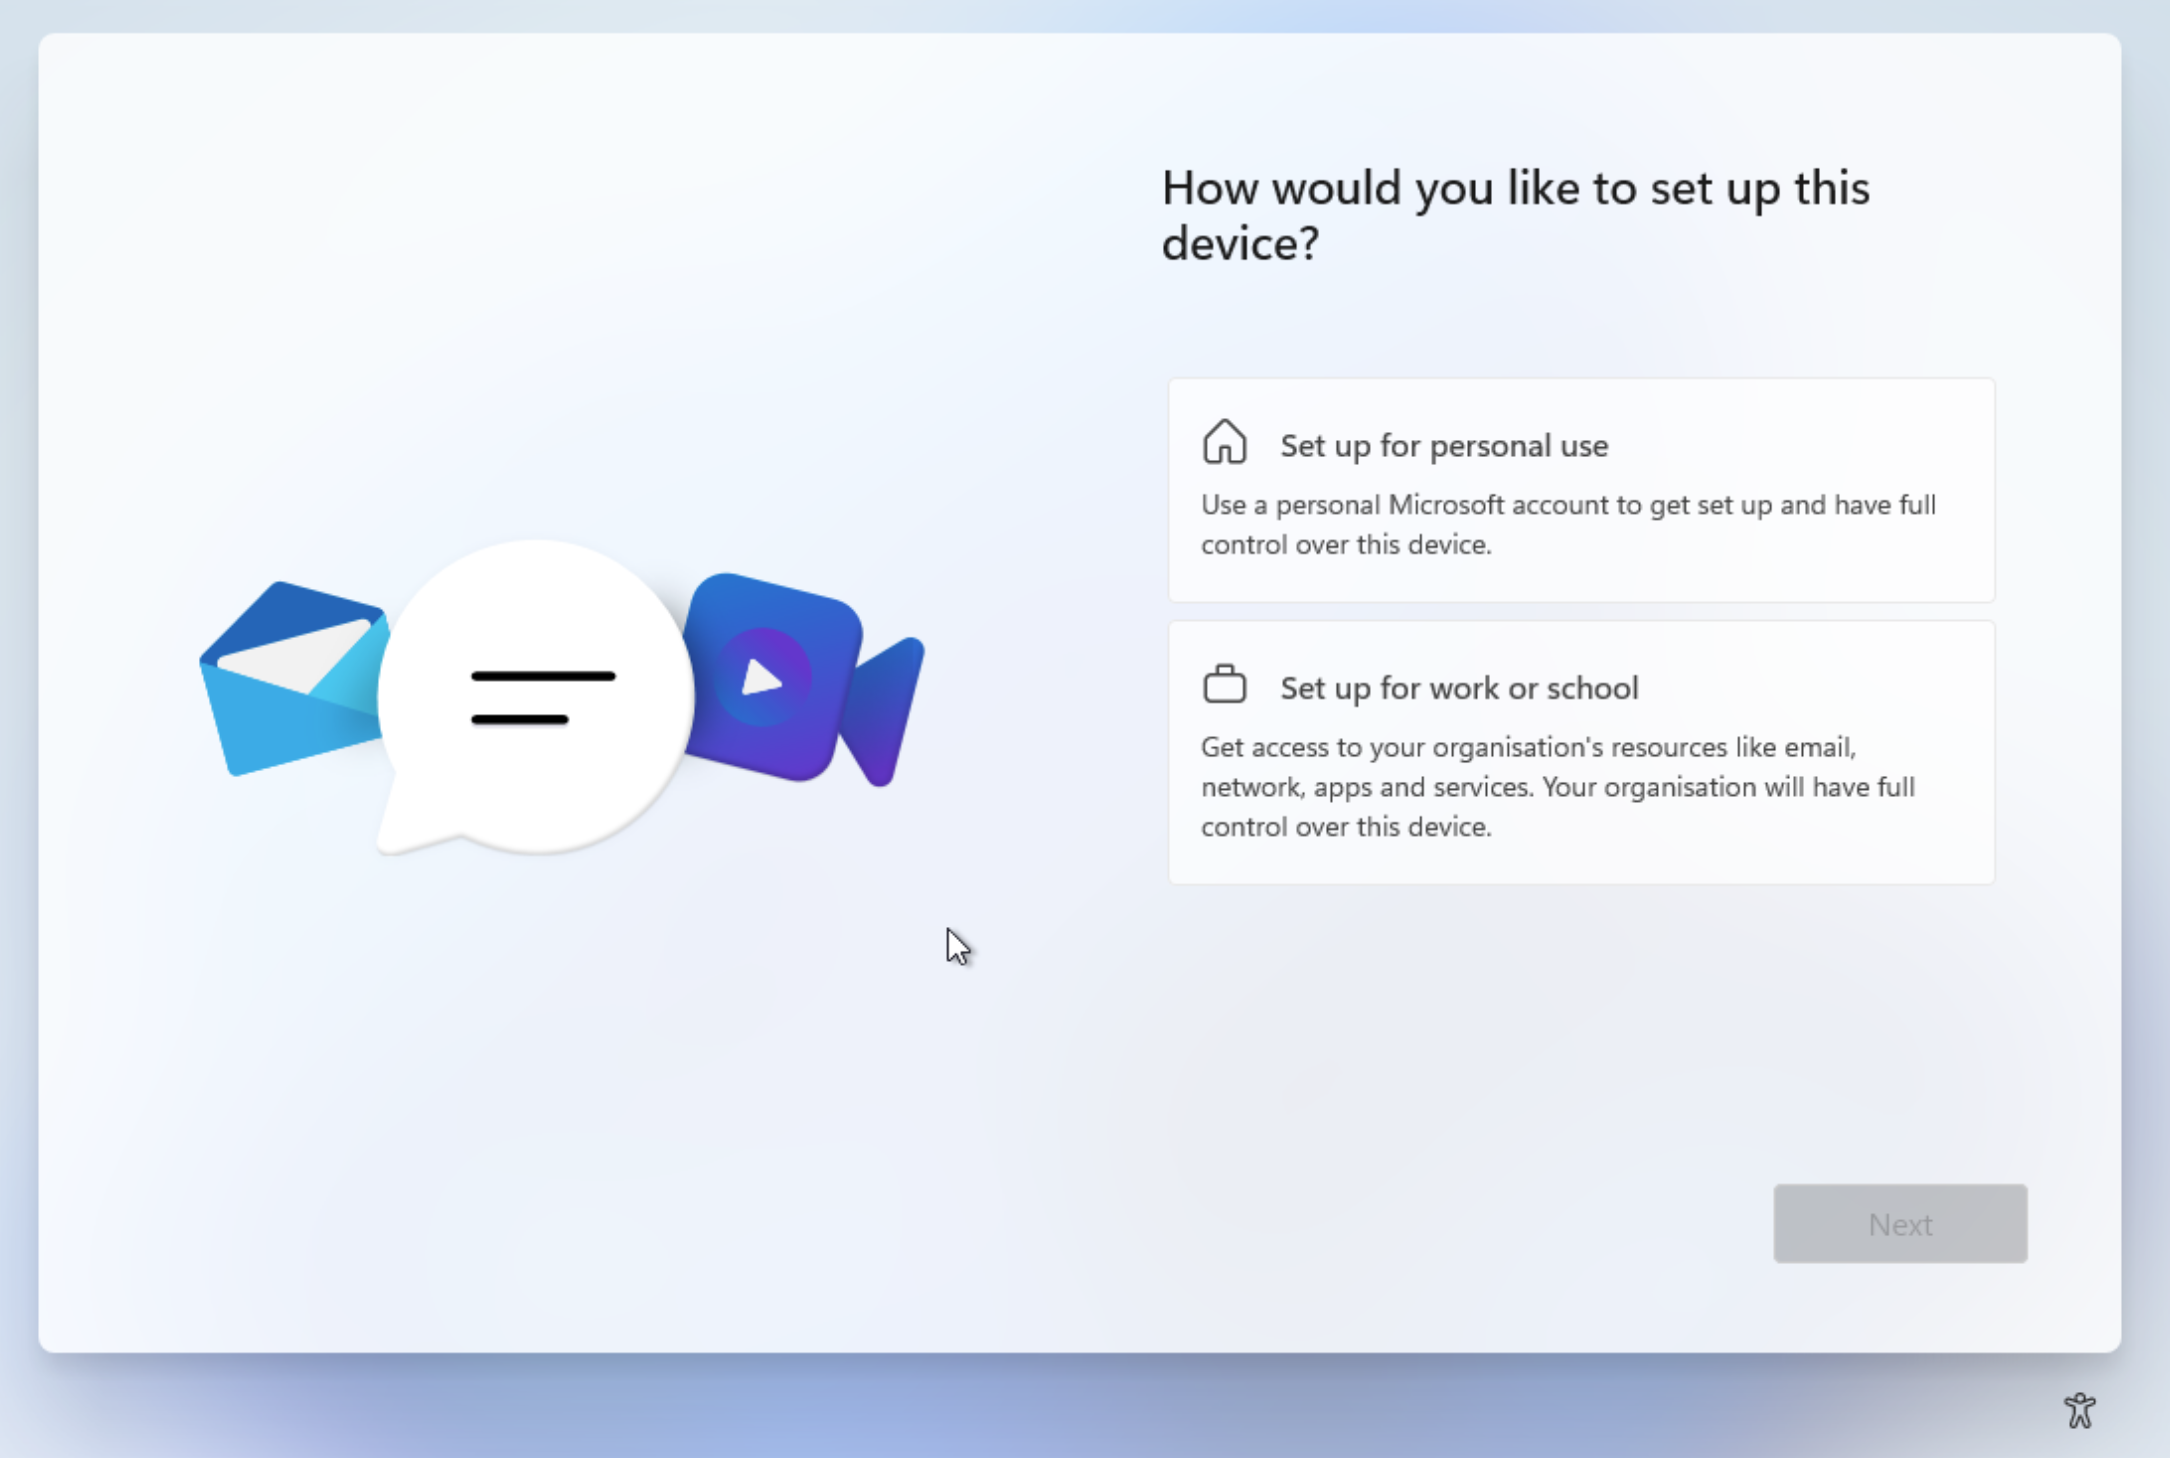
You can select the first option, “Set up for personal use,” but keep in mind that you will need a Microsoft account.
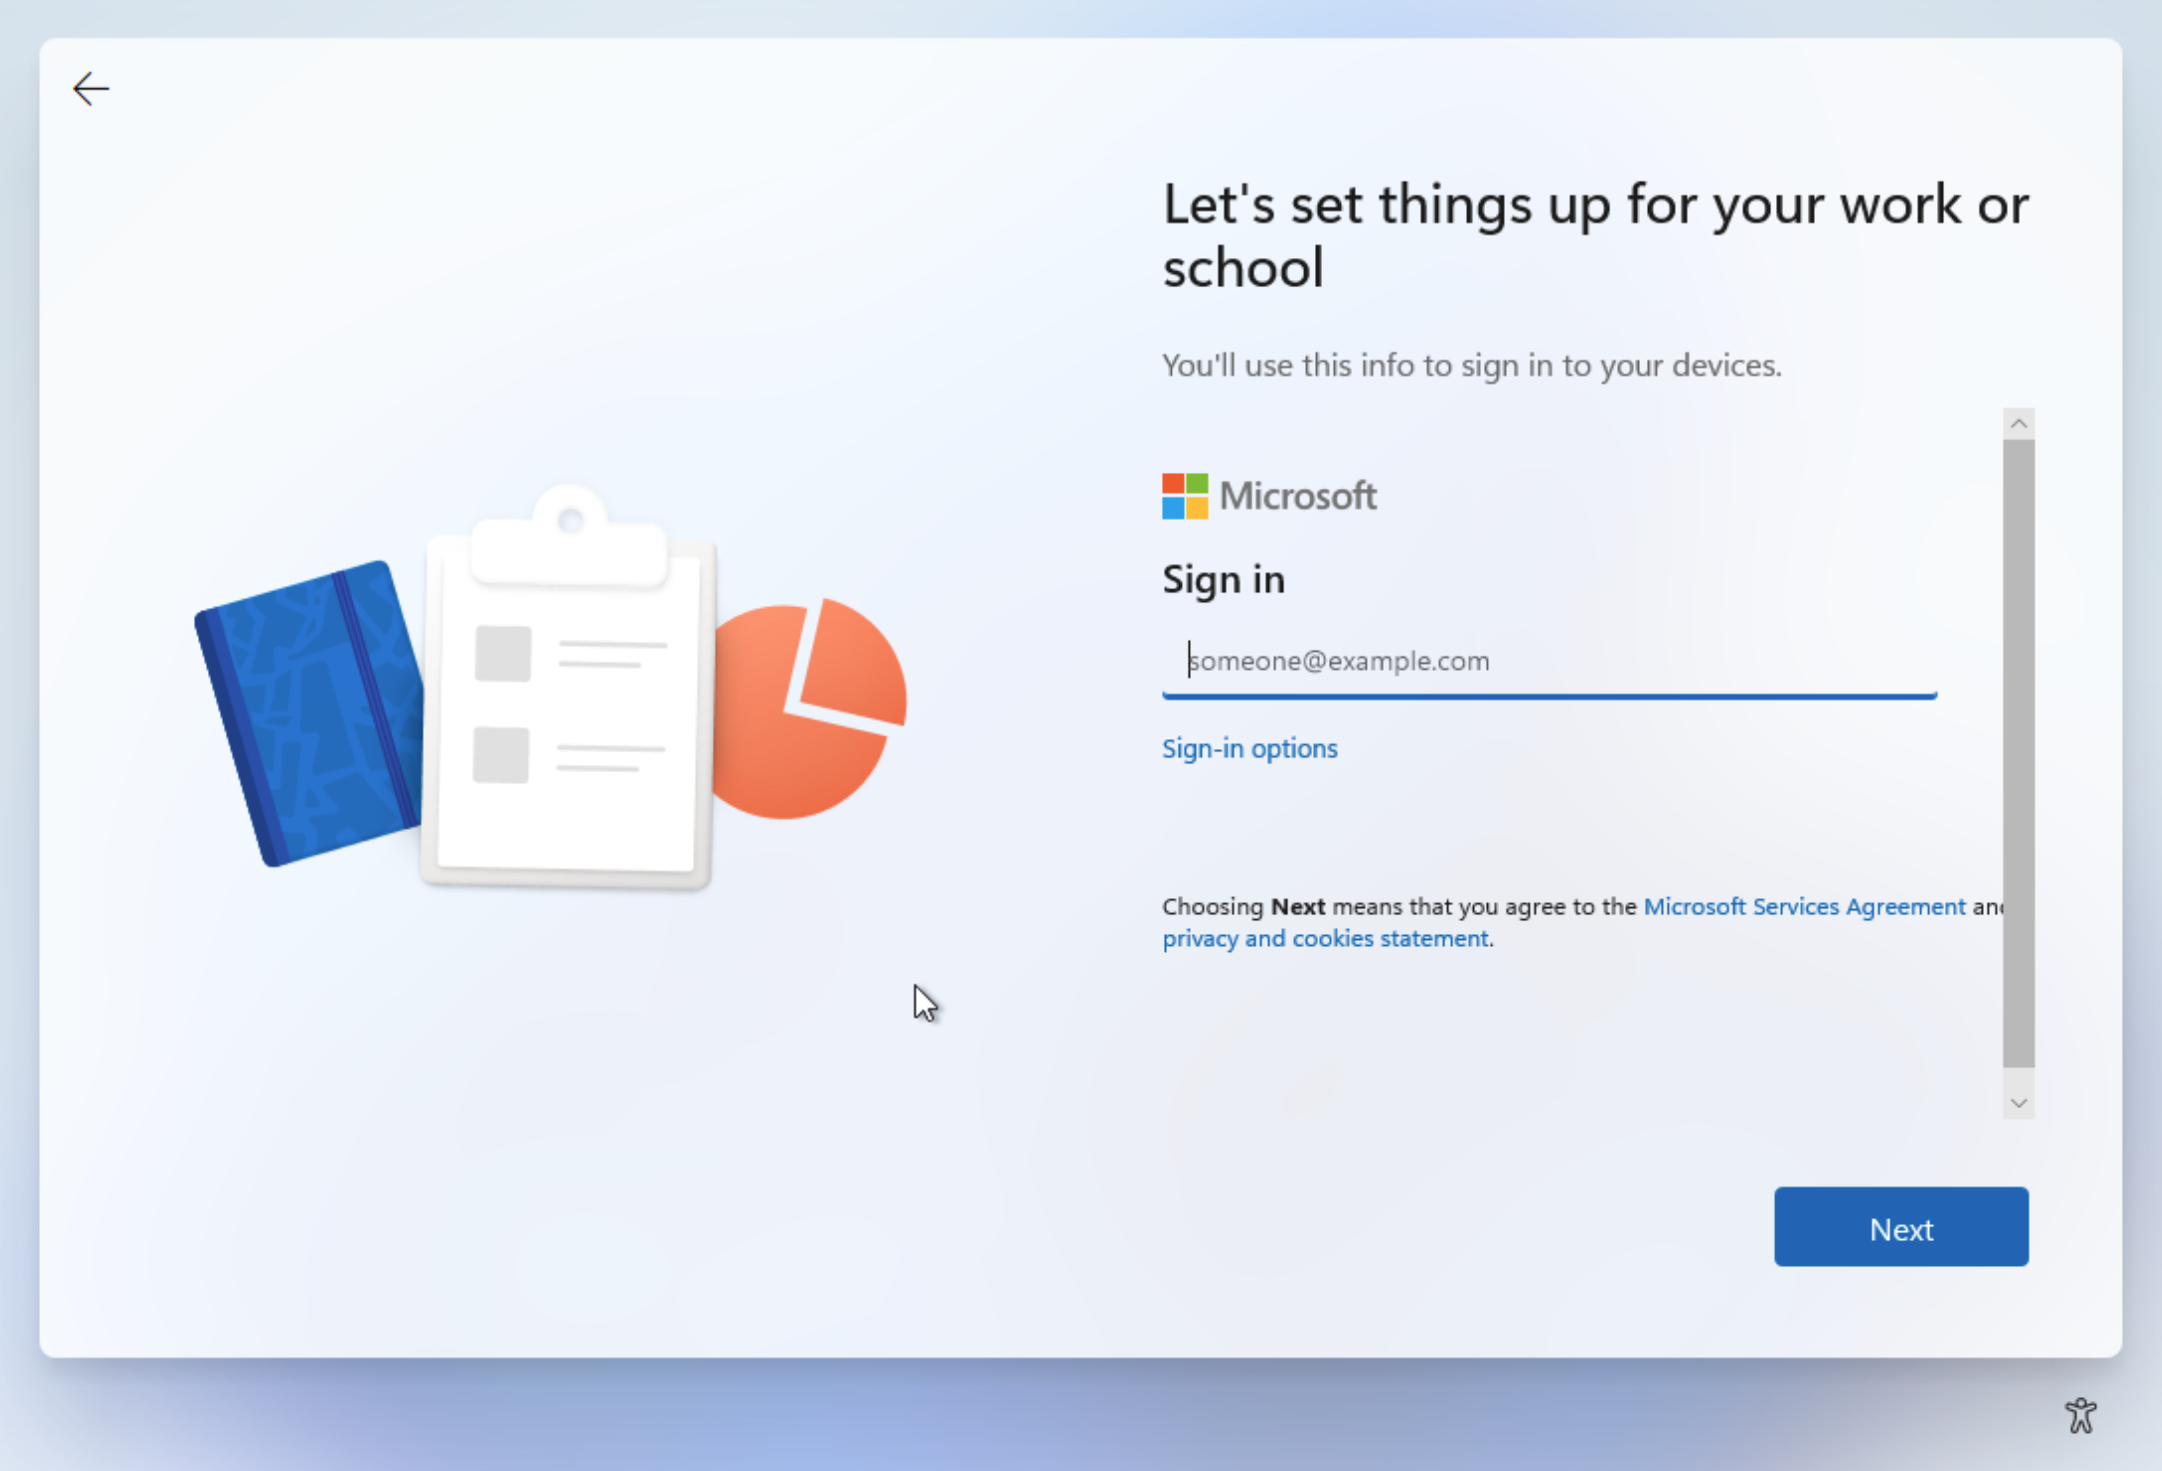
If you don’t want to use a Microsoft account and prefer a local account, select the second option, “Set up for work or school” and then press “Next.”
Click on “Sign-in options.”
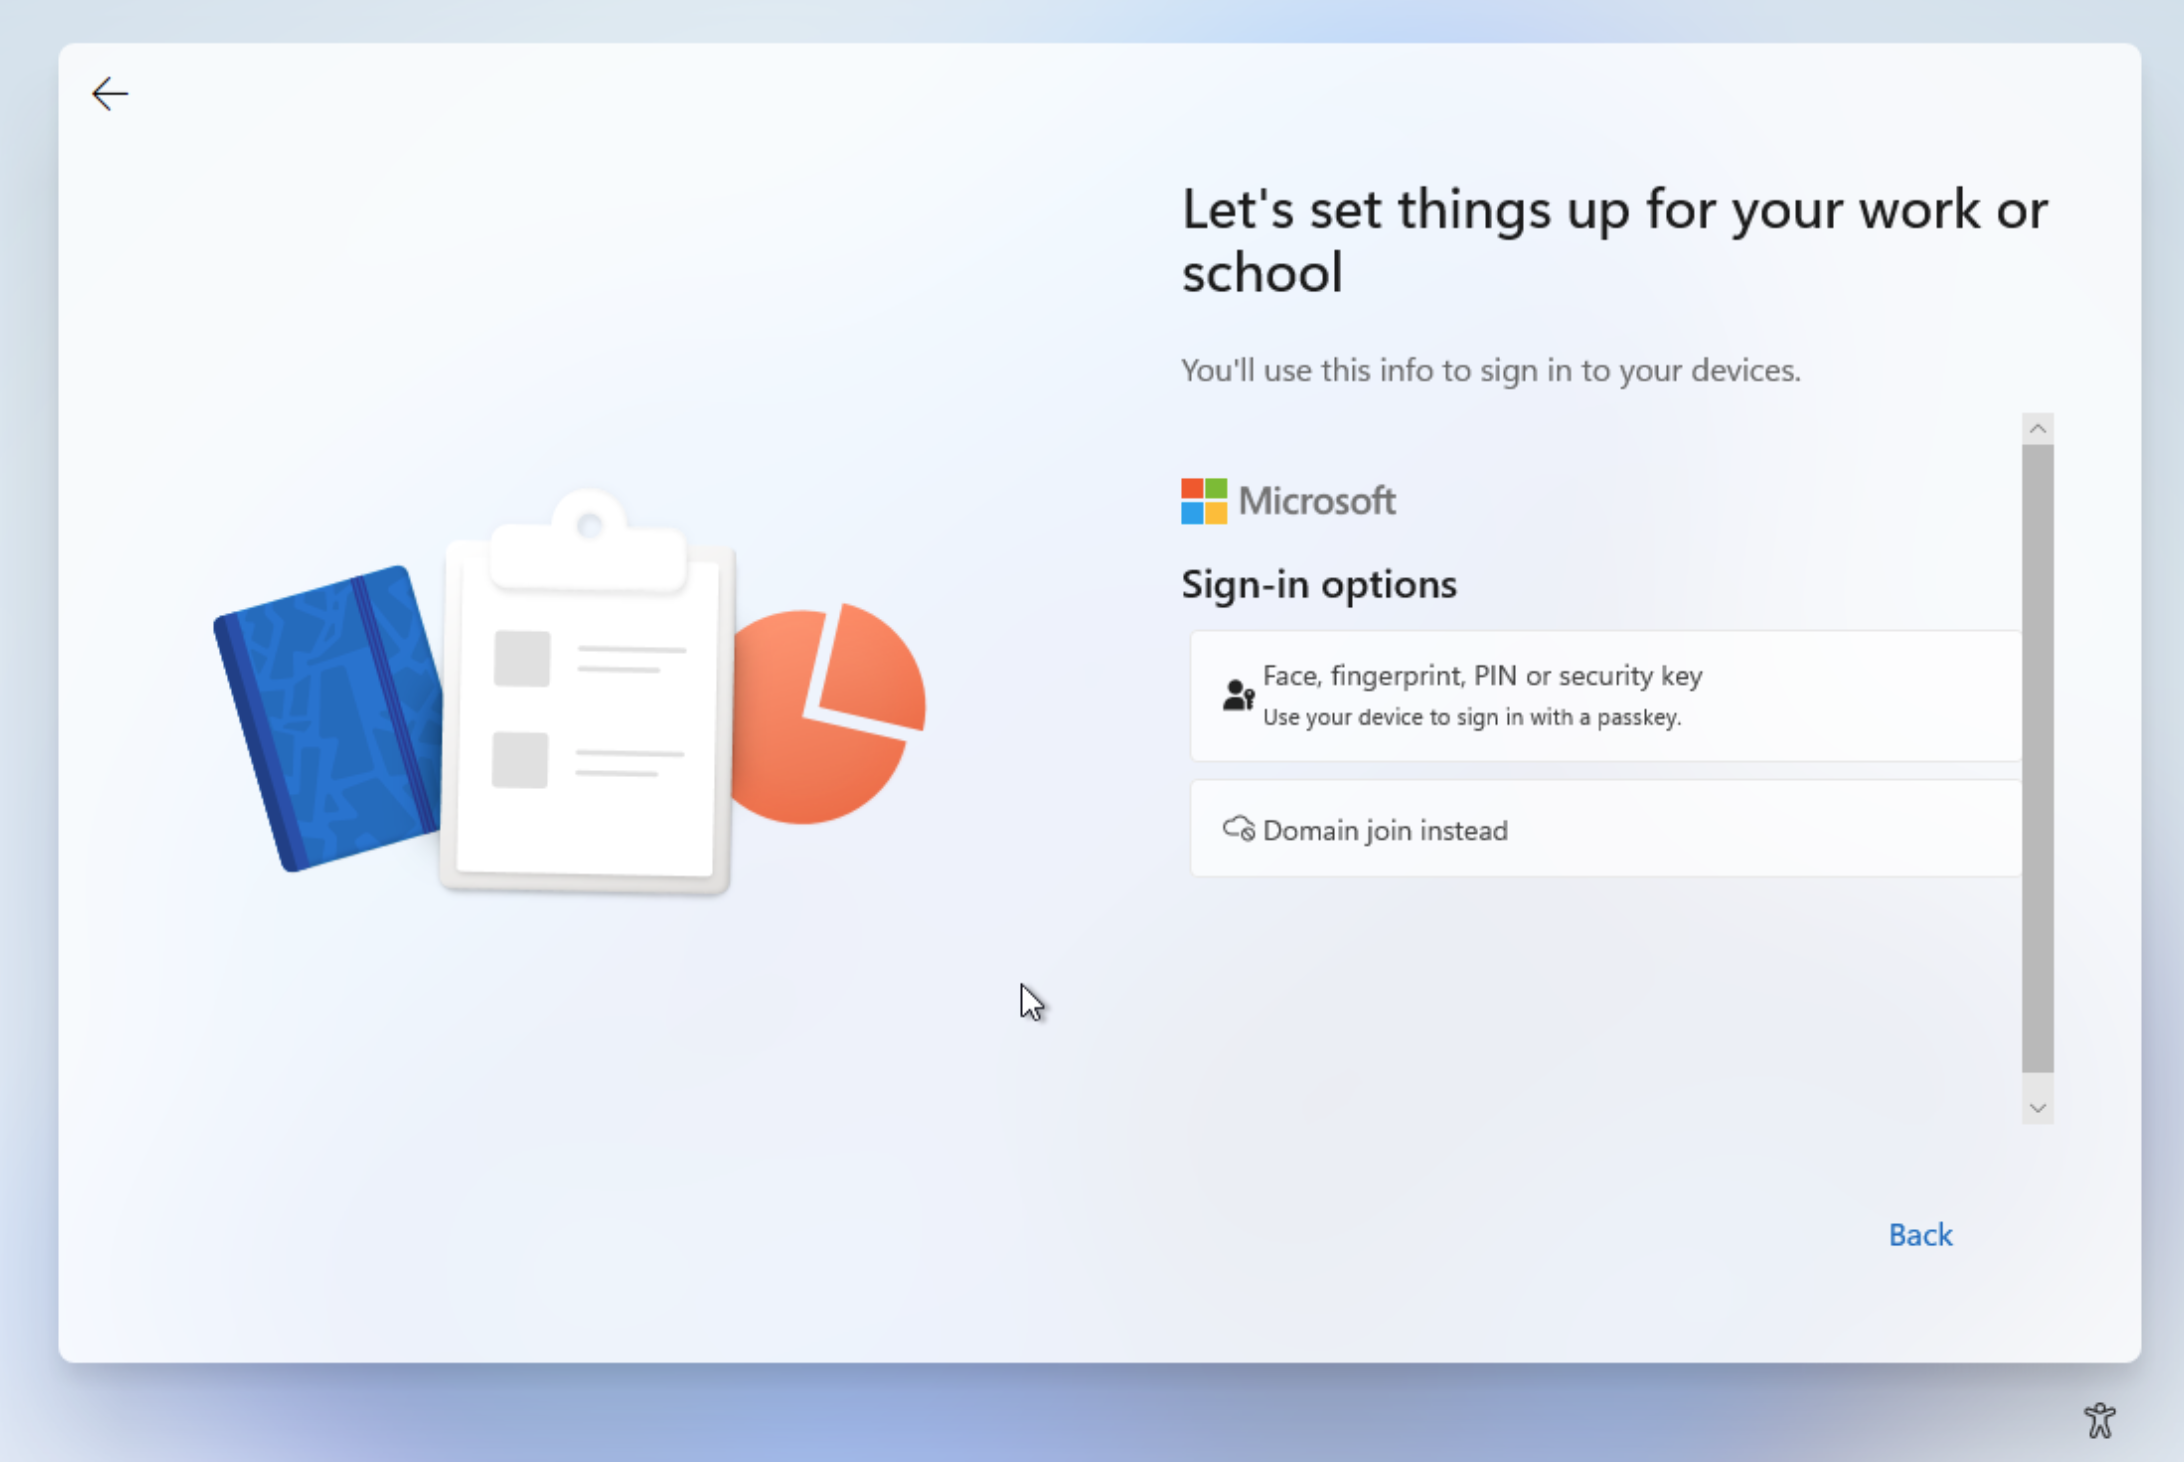
Click on “Domain join instead.”
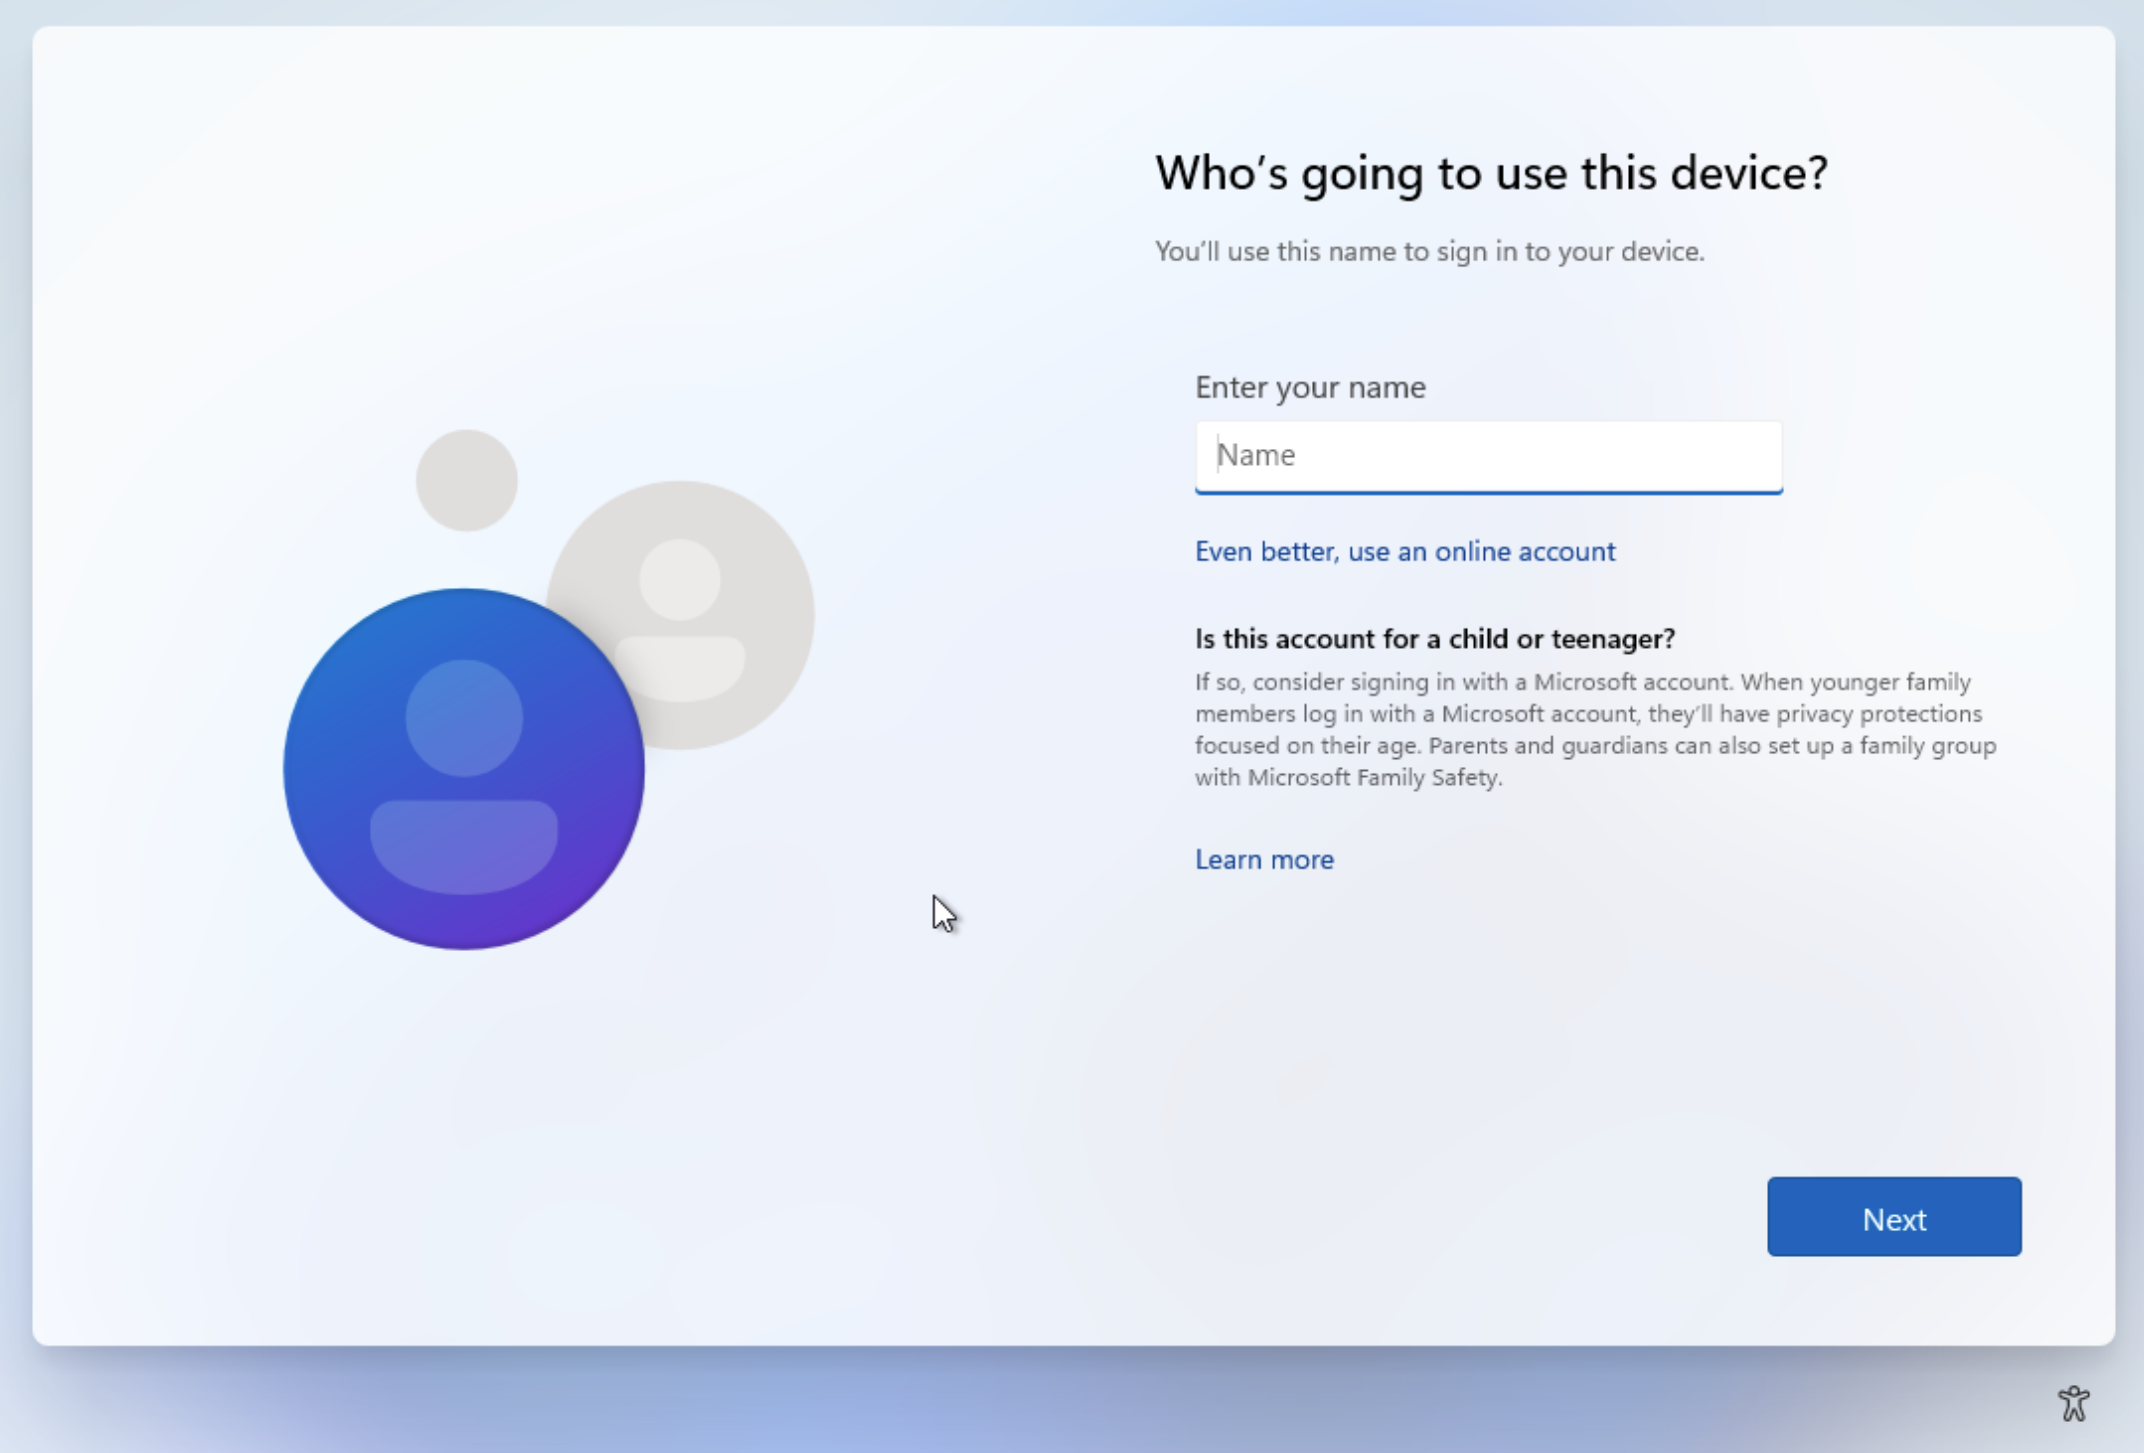
Name your account. In this step, you are not renaming the PC, but rather creating a local account. This is very important if you share a PC with multiple people. You can give it your name, or if you are administering the PC, you can name it “Admin.”
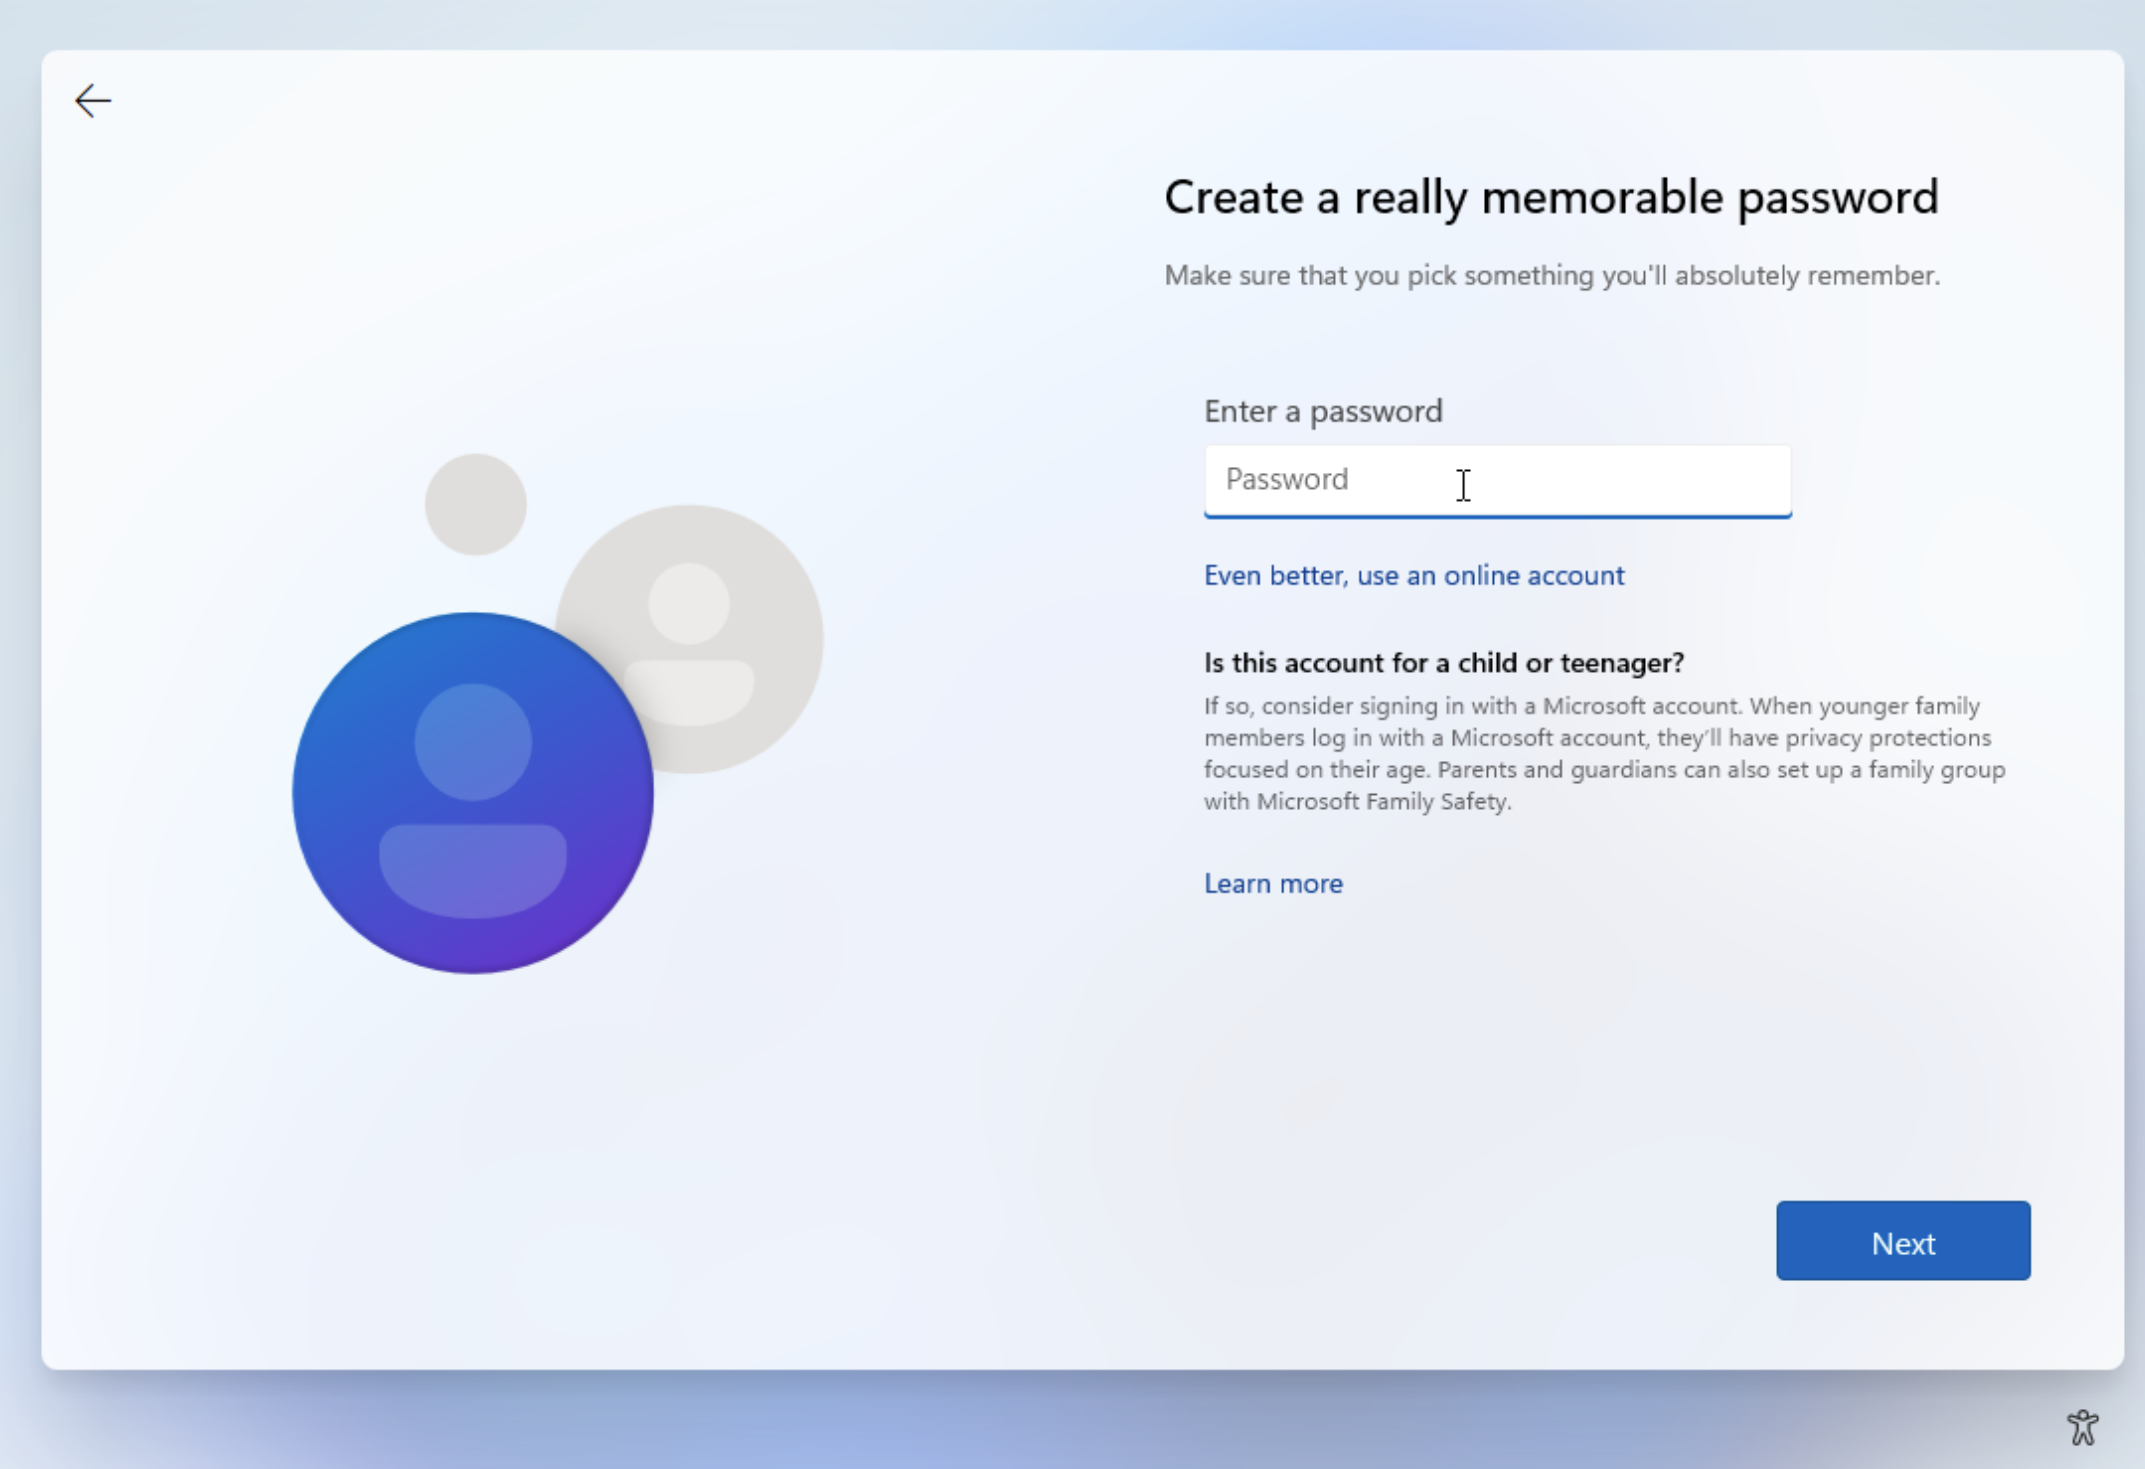
Create a password for your account and be careful not to forget it. And for the love of all that’s good, don’t use “Admin” or “Hello123” as your password.
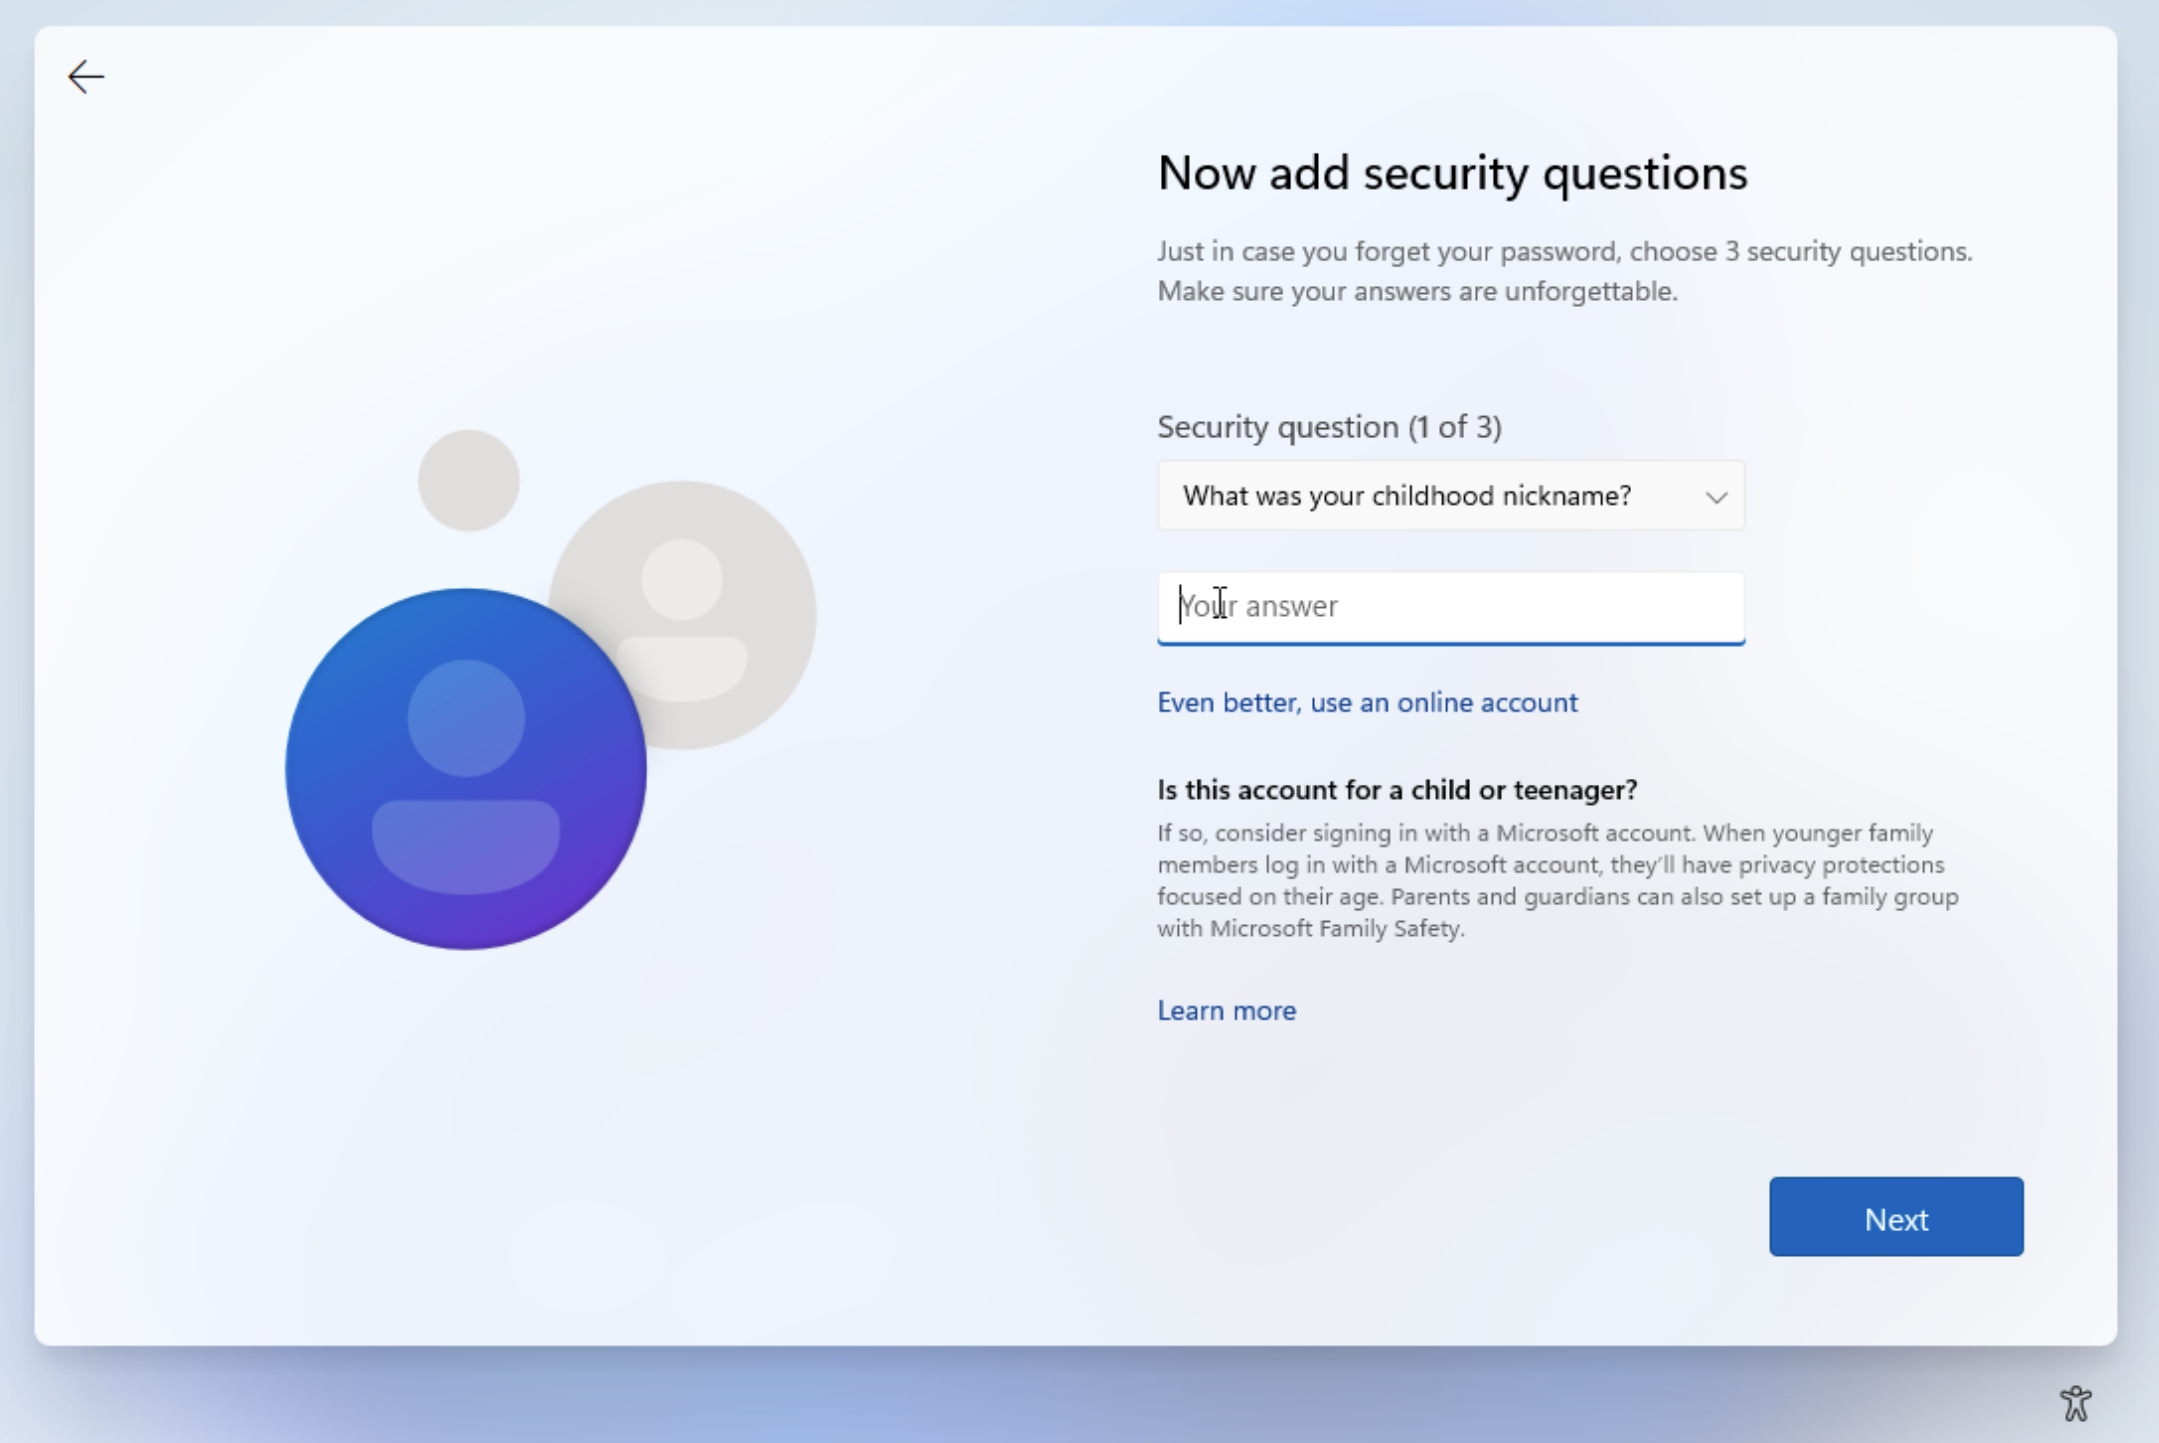
Now you need to answer three security questions. You’ll need these if you forget your password. After you answer one question, click “Next,” and then repeat the process for the remaining two questions.
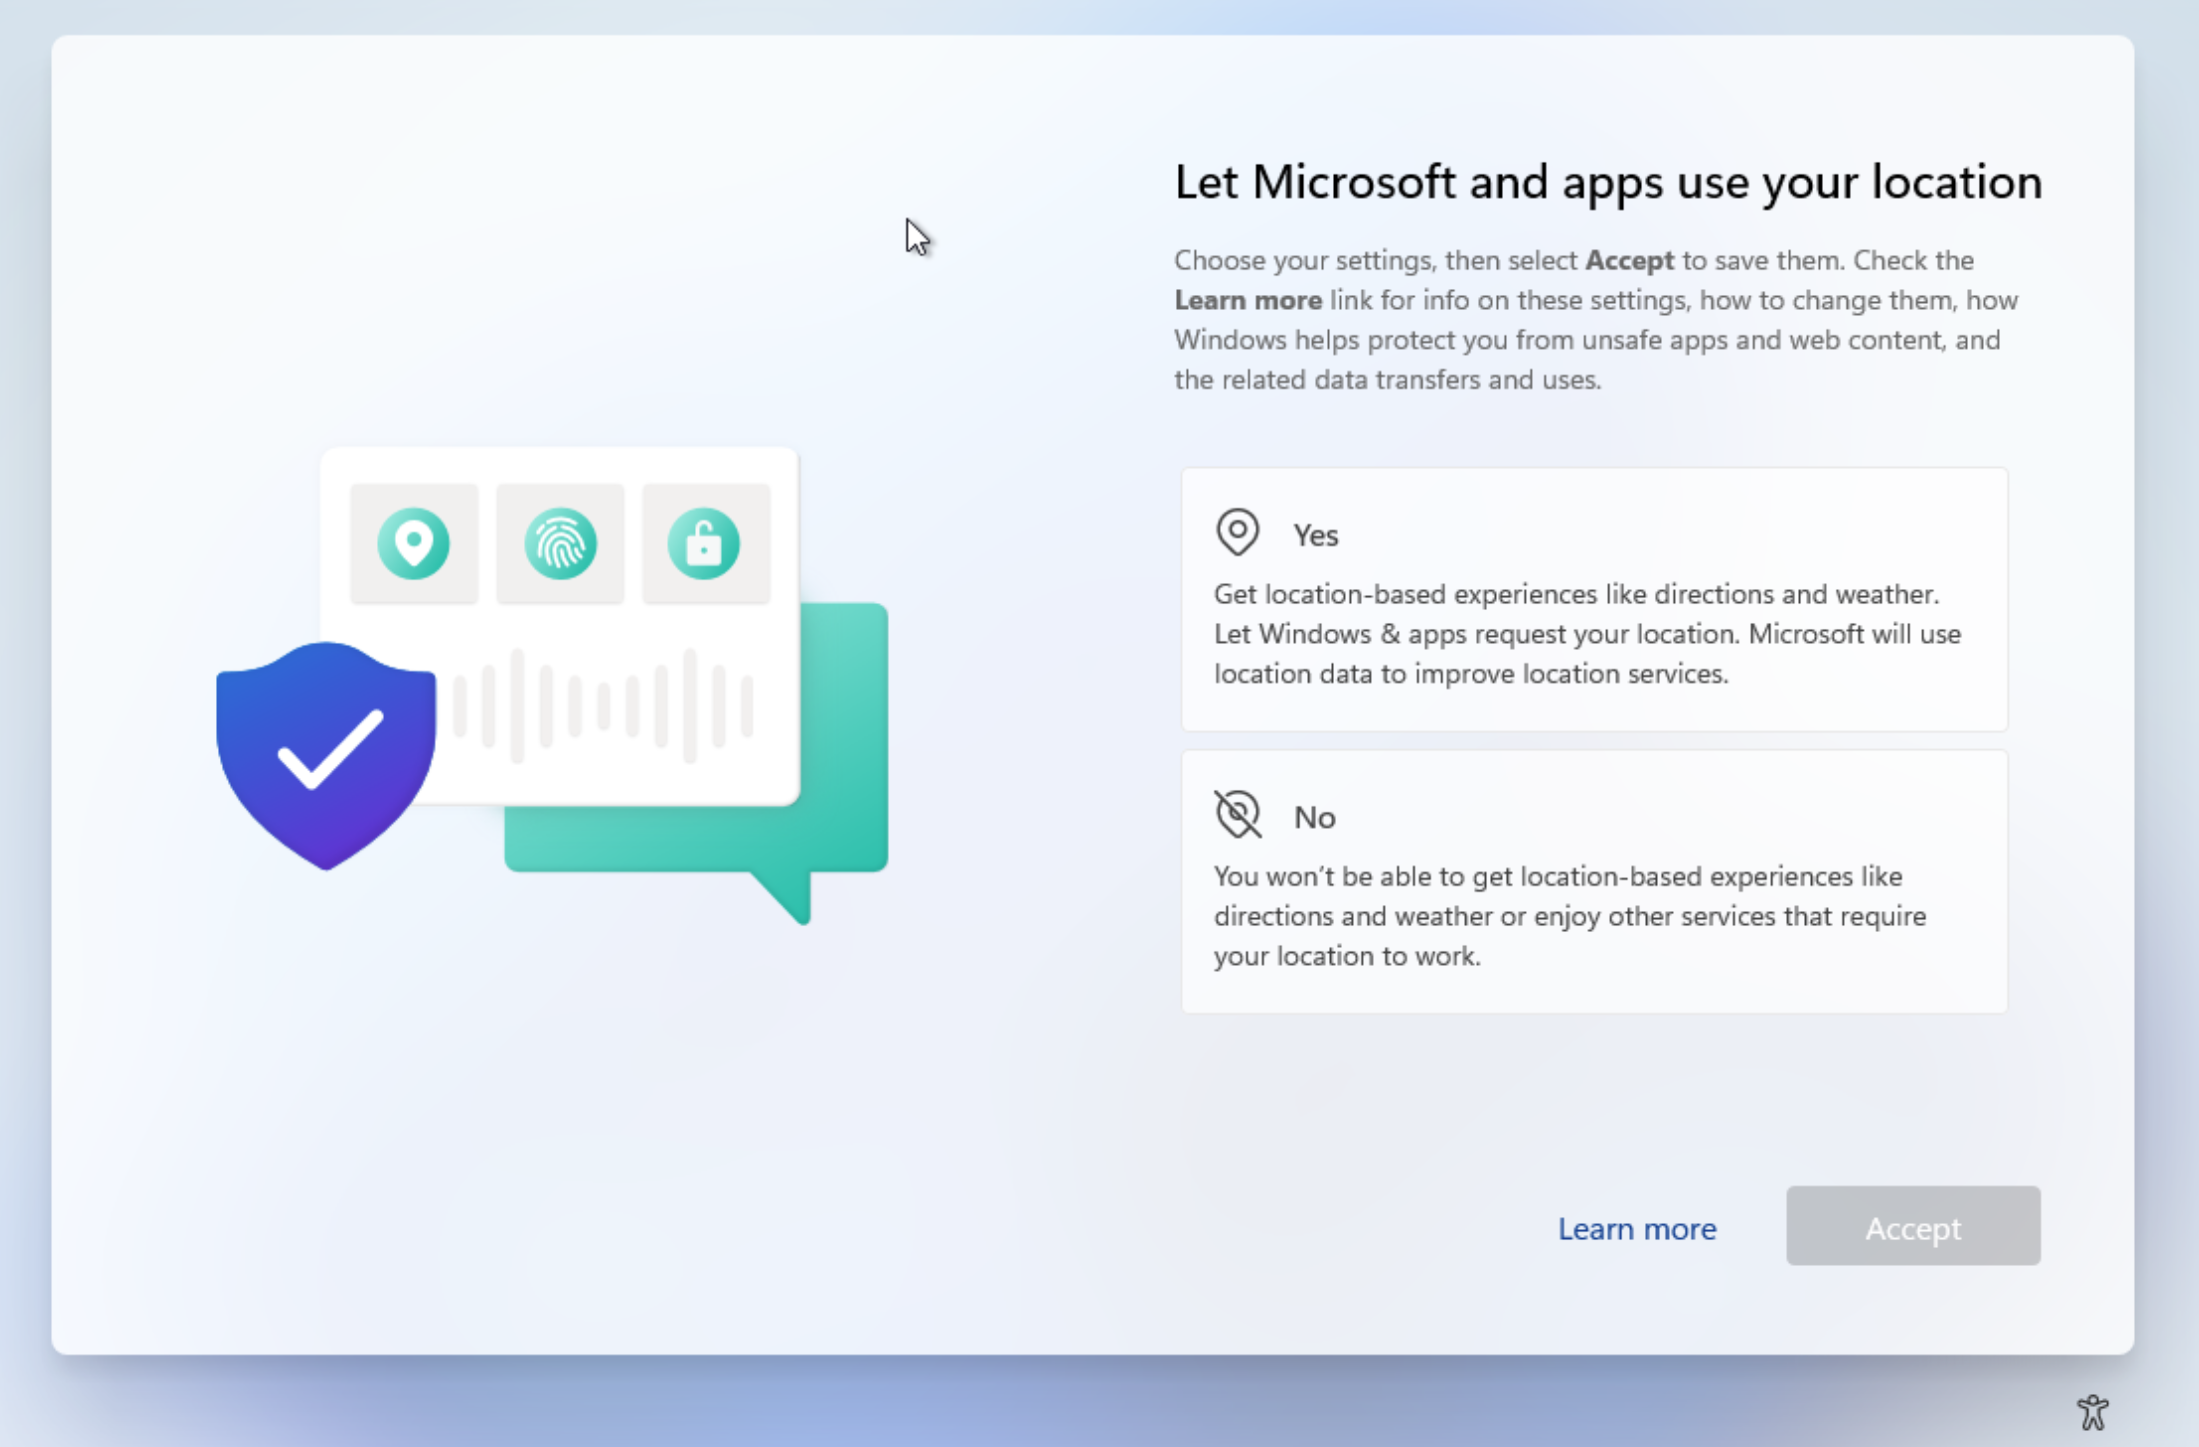
Now, Microsoft will ask you to accept or decline some permissions, such as location, data, and others. Whether you consent is entirely up to you. You can’t go wrong if you decide to press “Yes” or “No.”
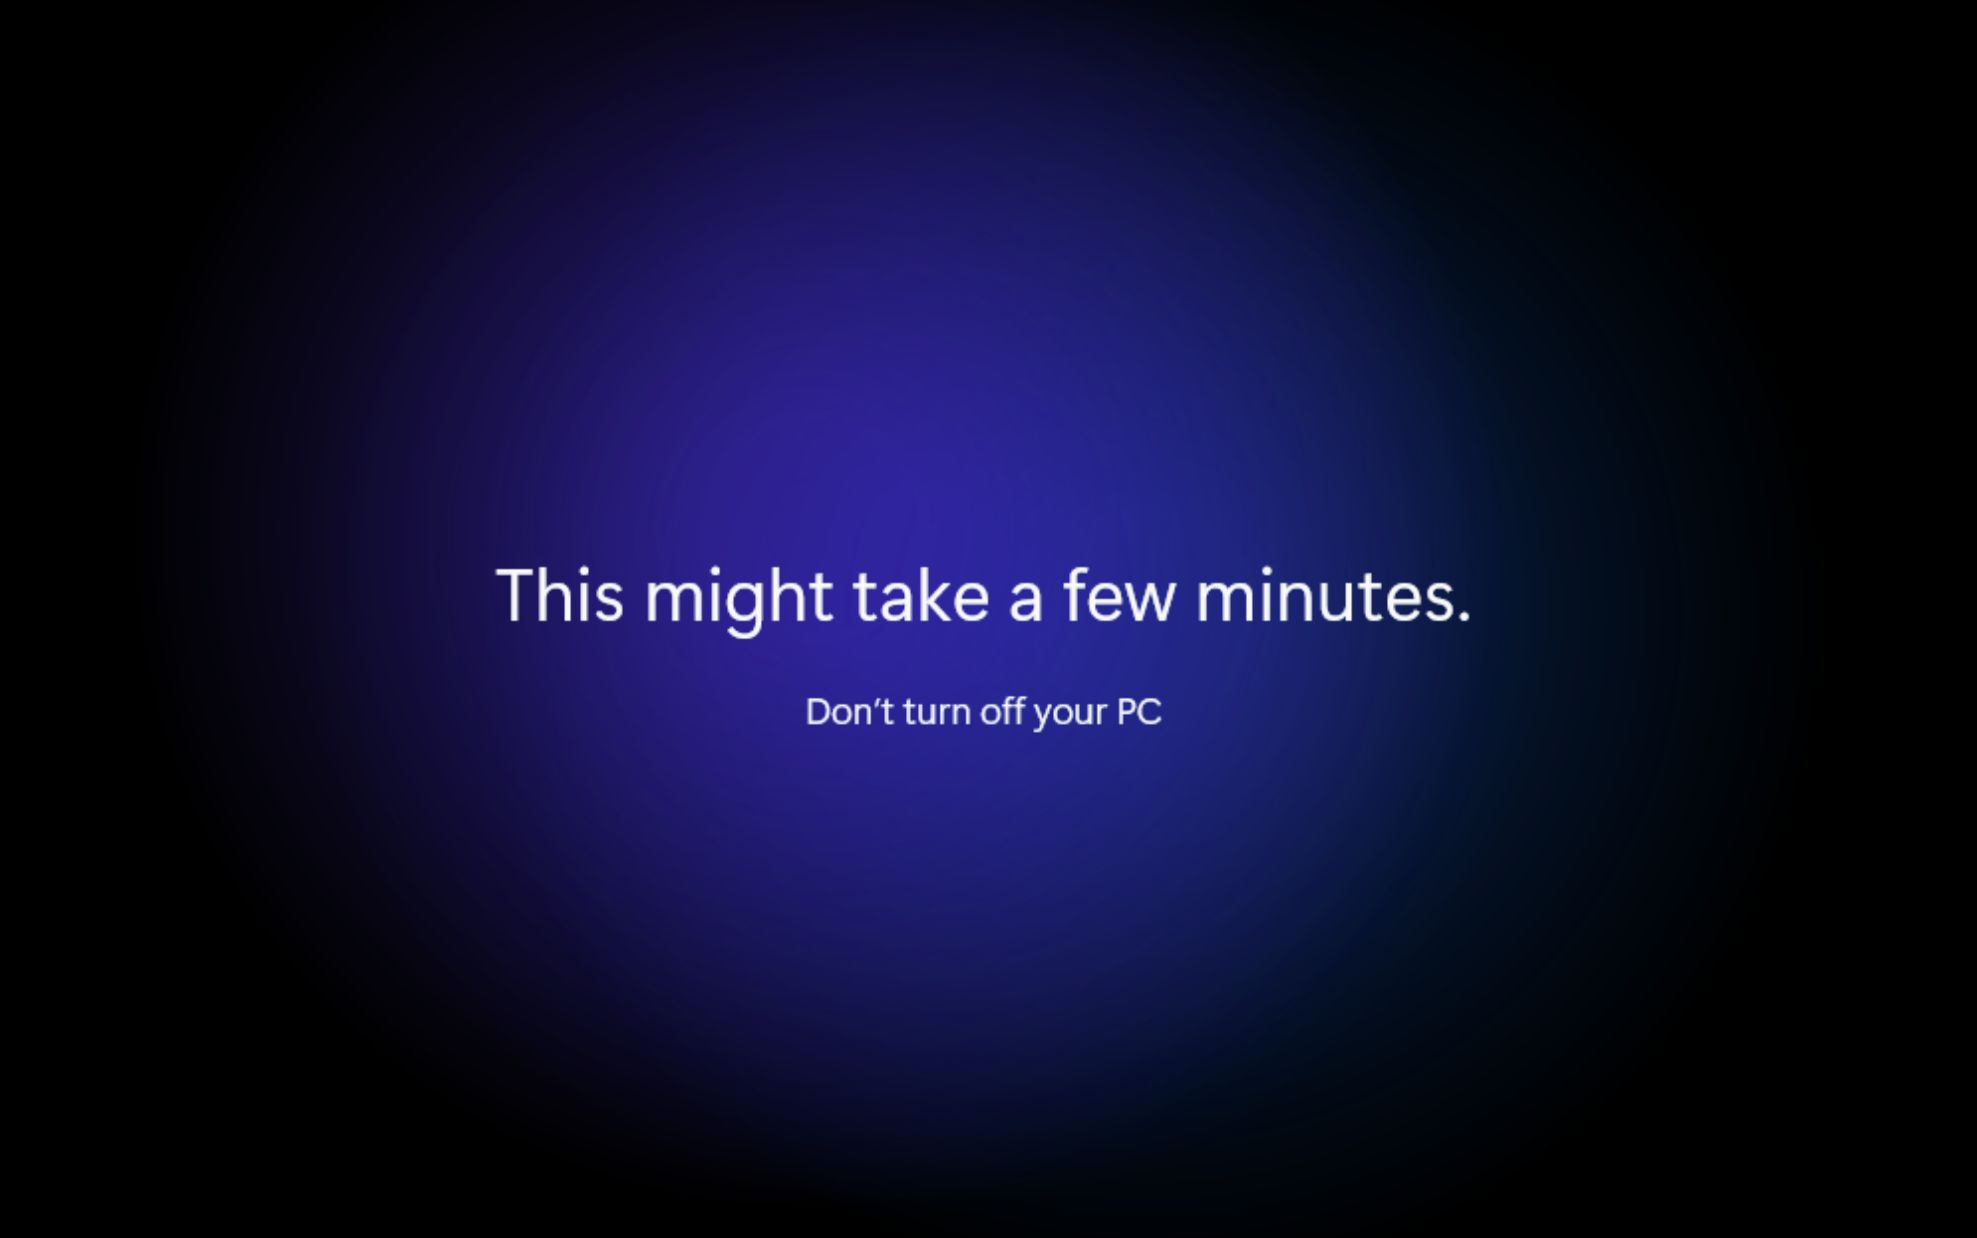
After you answer all the questions, you should see this prompt. Just wait, the PC might restart one more time, and voila! You’ve successfully installed Windows 11.
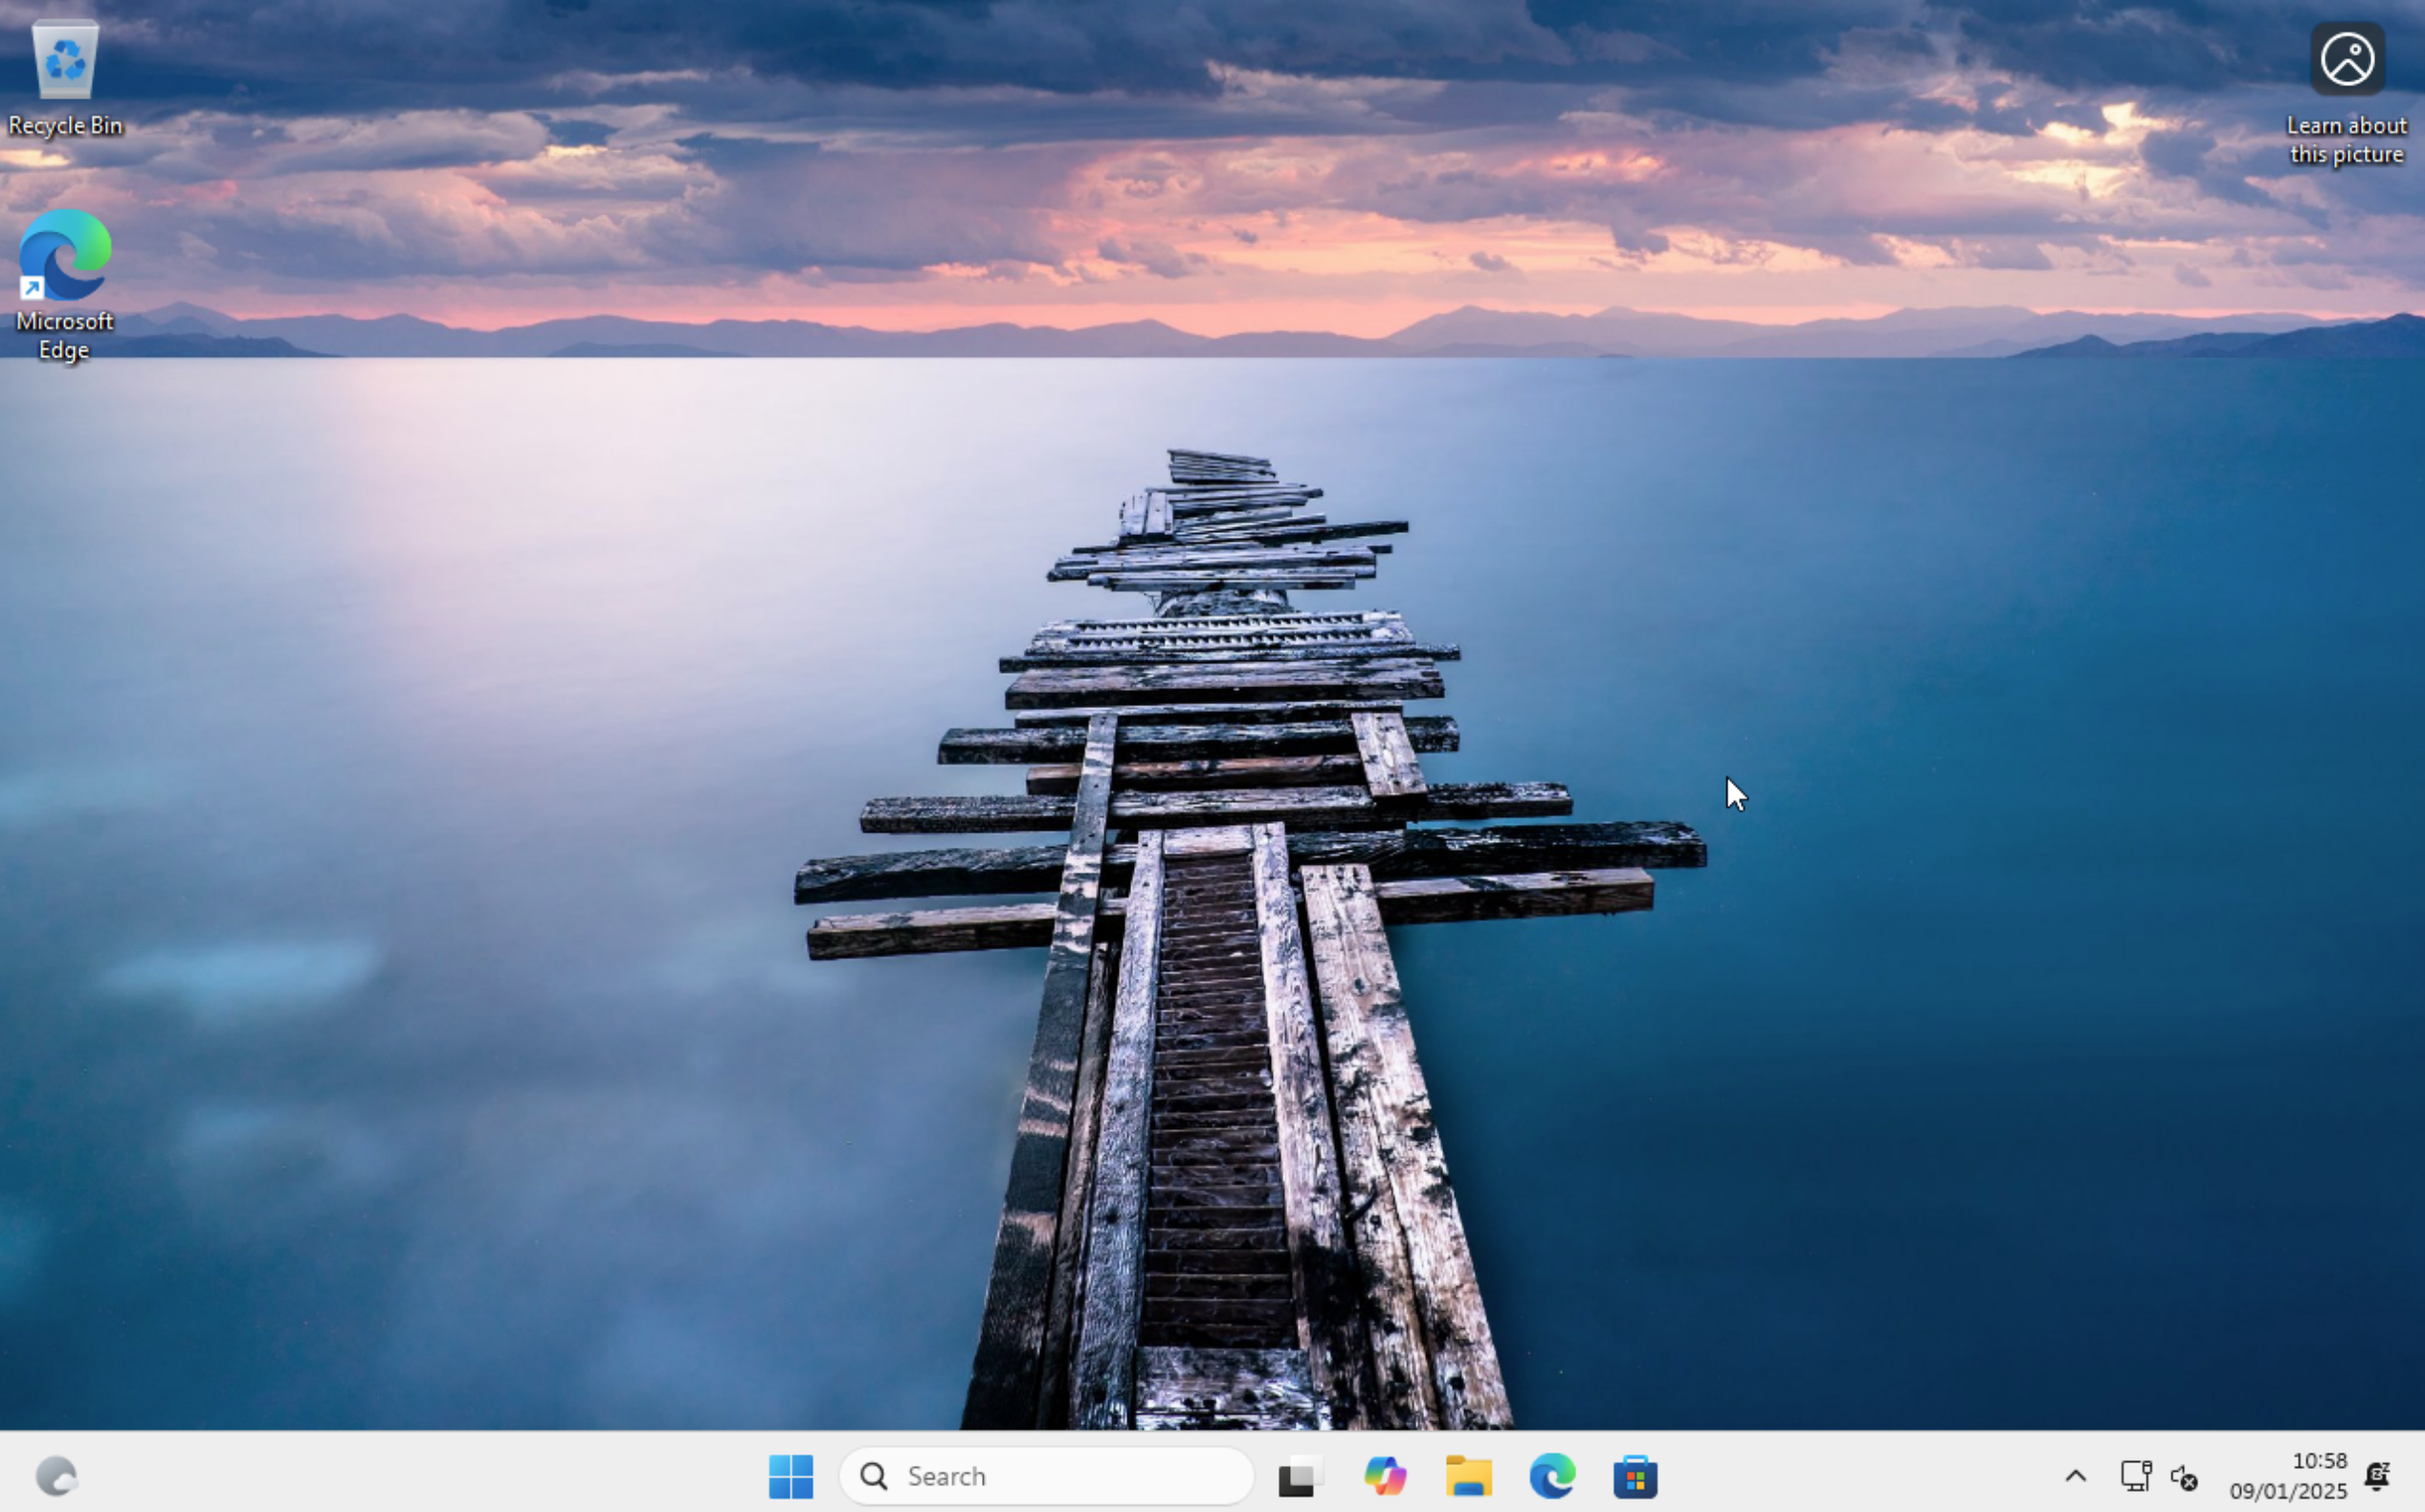
Congratulations!
Now, keep in mind that if you don’t have a product key, you will have some restrictions in the settings.
